Basic Underwater Photography Tips


Taking a waterproof camera or a camera in an underwater housing (such as the Nikon 1 digital cameras that utilize Nikon waterproof housings) into the sea is one of the coolest types of photography that you can do, because it gives you such a unique perspective that few folks experience first hand with their photography. Cameras such as the Nikon COOLPIX AW130 and S33 make it easier than ever to “dive in” [pun intended] to underwater photography.
With a few easy tips you can begin to make some great underwater images.
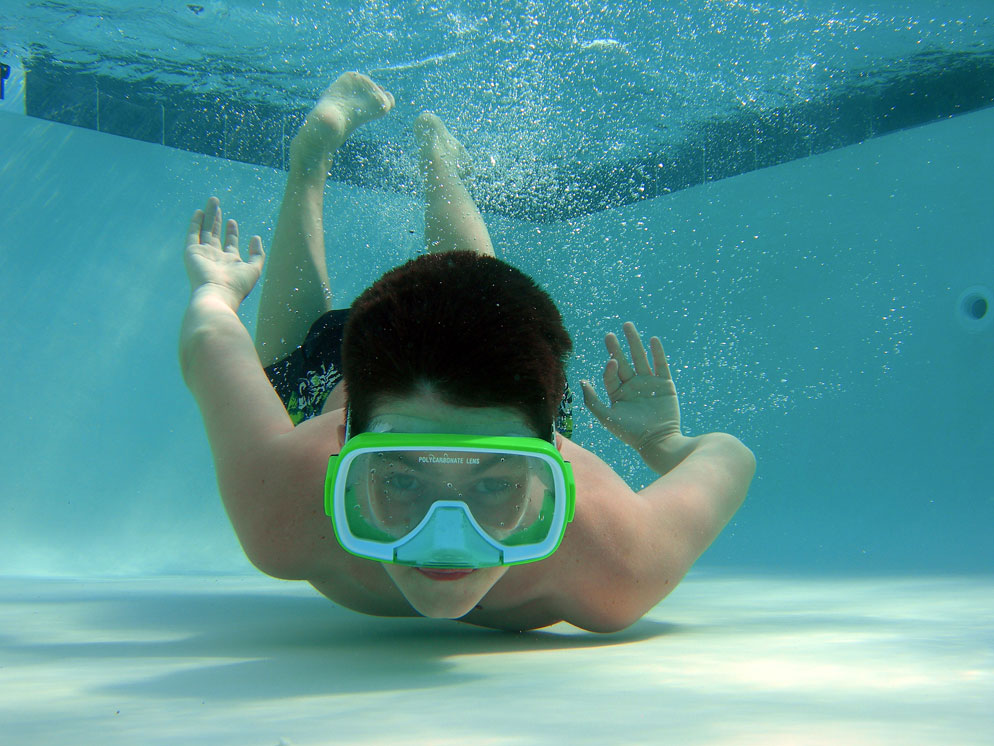
Use the camera’s underwater mode. Light—more importantly, the various colored light waves—do not behave the same underwater as they do above the surface of the water. As you descend, less and less of the colored wavelengths of light descend, but are filtered out. Red is the first to go, then orange and yellow. Without using a flash underwater, your subjects will be bathed in greenish, bluish light. Go deep enough and there won’t be any visible light reaching that deep. If, however, you were to use a flash or even a flashlight and shine it on your photographic subjects, you’d see that they are more colorful than what may be represented by the camera depending upon the depth you’re making photographs at.
The underwater mode is designed to filter out blue so your images are more representative of the actual color of the objects you’re photographing.
Get as close to your subject as possible. Underwater, light has to not only travel from the camera to the subject, but also back to the camera to be recorded. That may sound odd, but it’s why you should use a wide-angle lens if possible rather than zoom into an underwater scene. This is, of course, if you’re shooting a subject that is safe to get close to. [Read: don’t use a wide-angle and get close to sharks or other predatory fish that might decide to make you their dinner!] By cutting the distance that light has to travel, your images will be clearer, with more fine detail visible.
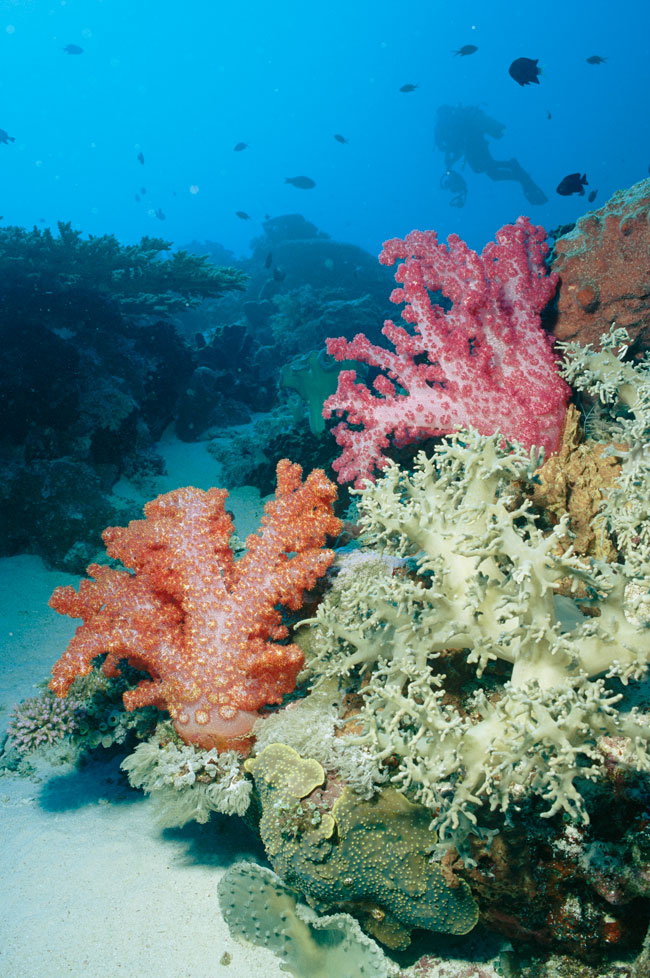
Use the Macro mode to get even closer to tiny subjects. In our last tip, we suggested using a wide-angle lens to get close to your subject. Now, try the macro mode on your waterproof COOLPIX, or if you’re shooting with a camera in a housing, use a macro lens to get even closer. You’ll be able to photograph corals or fish at close distances that make your images look truly “one-of-a-kind”.
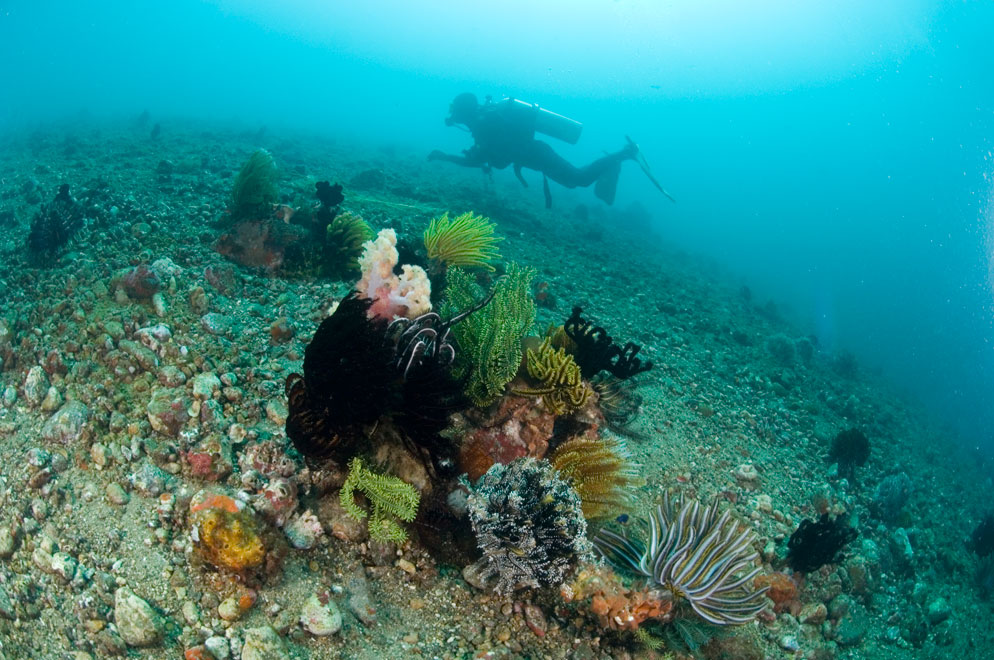
Show some scale. Sometimes it may be hard to tell how large an object is underwater, so its great to add a subject that will show the scale of the scene you’ve captured. For instance, if you’re photographing a shipwreck, by adding a SCUBA diver into the scene, you’ve now provided the viewer with a sense of the size of the wreck. As a bonus, the added subject will often make the overall photograph more interesting to view.
Remember that composition matters. Lastly, remember that just because you’re now photographing under the surface of the water, you still need to be aware of the composition of your images. Use the lessons you’ve learned regarding creating pleasing compositions, such as the rule of thirds; placing the horizon at the top/bottom third instead of right in the middle of the image, filling the frame with your subject, look for patterns to photograph, etc.
Five of the images accompanying this article were taken by professional underwater photographer Wolcott Henry. To see more of his work, visit his website at http://wolcotthenry.com.


