Moving Pictures: The Learning Curve
Starting at stills, going to video
I’ve always had a film sensibility, and when I take still images I look through the viewfinder as if I were a cinematographer. That style fit with my early career as a photojournalist when I’d shoot all the way into an assignment—establishing shot, medium shot, then close to the subject—to tell a story and document an event. And I felt right at home when I began making videos with my Nikon D-SLRs.
In a picture story, the still image is the building block; in a video, the scene is the building block, and when you make a video clip, you quickly learn how to use scenes as if they were individual photographs. The best part of the narrative nature of a video is that you can assemble all those scenes and present them in the precise order you choose.
When I started shooting moving pictures, I realized that the assembly of a video is much the same as a collection of pictures: there’s a shot that establishes a mood, a place and a time, and as the scenes progress they generally get more and more detailed and descriptive as they lead viewers into the narrative. But when you’re shooting the establishing shot, the medium view and the close-up in a video there are decisions that don’t come into play when you’re shooting stills—decisions you need to make in the planning stage, in the storyboarding (if you choose to do that step), on the spot or in the editing. When you move from establishing shot to middle distance, will you stop shooting and do a cut when you edit, or will you shoot the move? If the latter, where will the camera be, and what will it be capturing? Perhaps something that will play a part in the story? A still photograph is a moment in time; video is all the moments, and I like to plan those moments ahead of time, though sometimes, on the spot, I’ll film more than I’d planned just in case I decide to use it later.
Another point on the learning curve from stills to video: if you’re recording someone talking in a documentary context, you might want to plan for B-roll material—that is, footage that adds to or supports what the interview subject is saying—so you’ll have a cutaway to break up the narration.
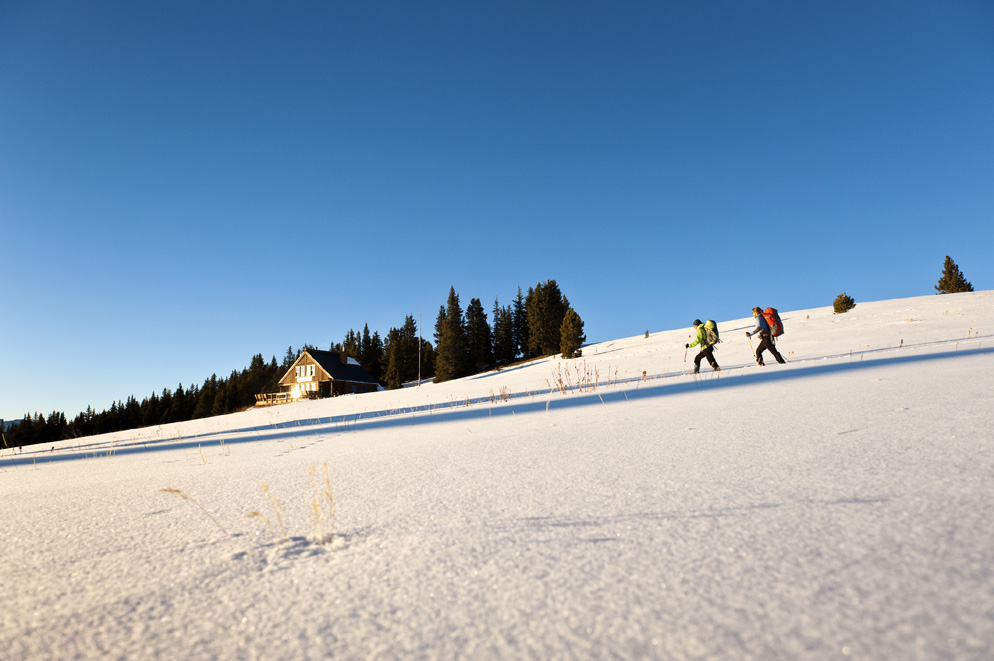
Establishing, medium distance and close-up still-image storytelling from our Workshop columnist, Michael Clark. If Michael had been shooting video instead of stills, would he have kept shooting as he circled around and moved in?


When I began to shoot video it took me a while to learn to keep the camera rolling. As a photojournalist, I’d shoot the pictures and move on; in video, it’s necessary to roll for a few seconds before you expect something to happen and then roll long after. Once I started to edit I learned what I needed to make the edits work—and that was longer takes into and out of a scene.
I also realized that when I shoot stills I tend to comment and sometimes instruct, and I couldn’t do that with video unless it was somehow part of the story. Video means not only everything you see, but everything you say. Plan ahead and instruct ahead, and realize that sound, both intended, incidental and accidental, is vital in video making.
So is editing, which seemed so daunting at first. I found that though the terminology and the software are completely different, I was dealing with digital files, putting them into a computer and manipulating them, and that turned out to be not so different than what I was doing with still photos.
After a bit of time experimenting and practicing, of going out and shooting short clips of things that were of interest, the video process started to come as naturally as taking stills. It was a different thought process, though, and there was a different feeling to the result—more compelling, more lyrical, more informative.
If you’re thinking of giving video a shot (or a scene), I’d suggest you start with what interests you most—air show, car show, garden club, vacation, do-it-yourself project—and tell the story from lots of angles, with detail shots and reactions. Or shoot your hobby in a way that shows why you love it, make a minute-long video and share it online. I think you’ll find, as I did, that it won’t take long to get ahead of the learning curve.


