Top Tips for Photographing Holiday Light Displays

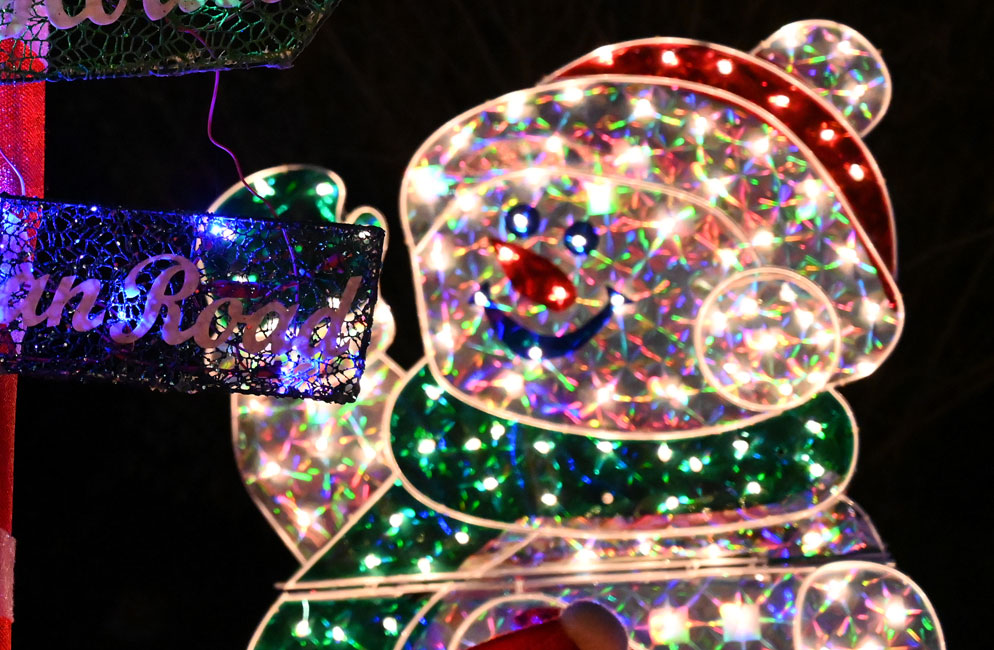
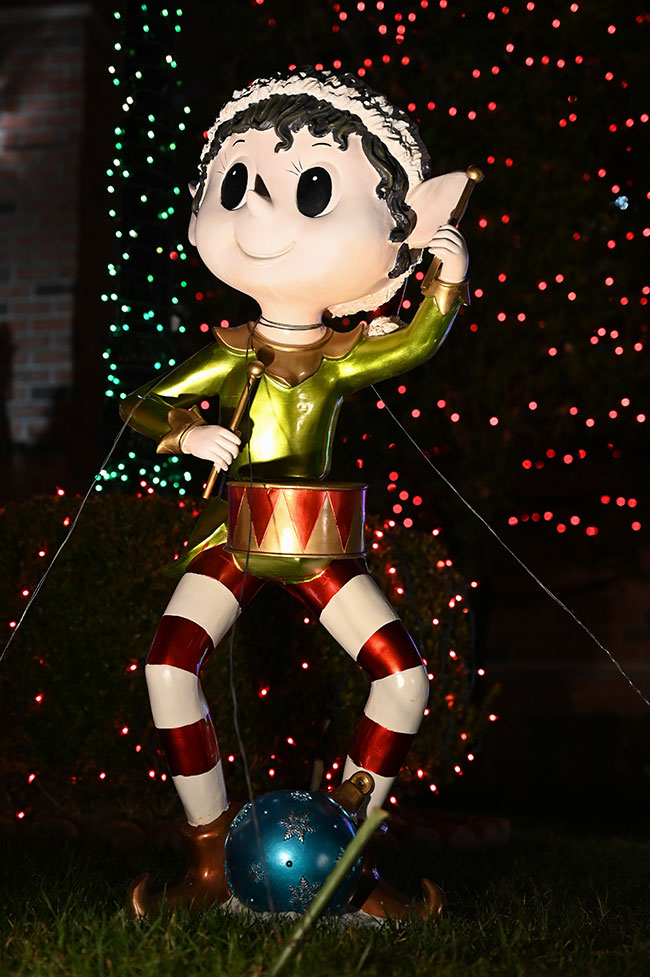
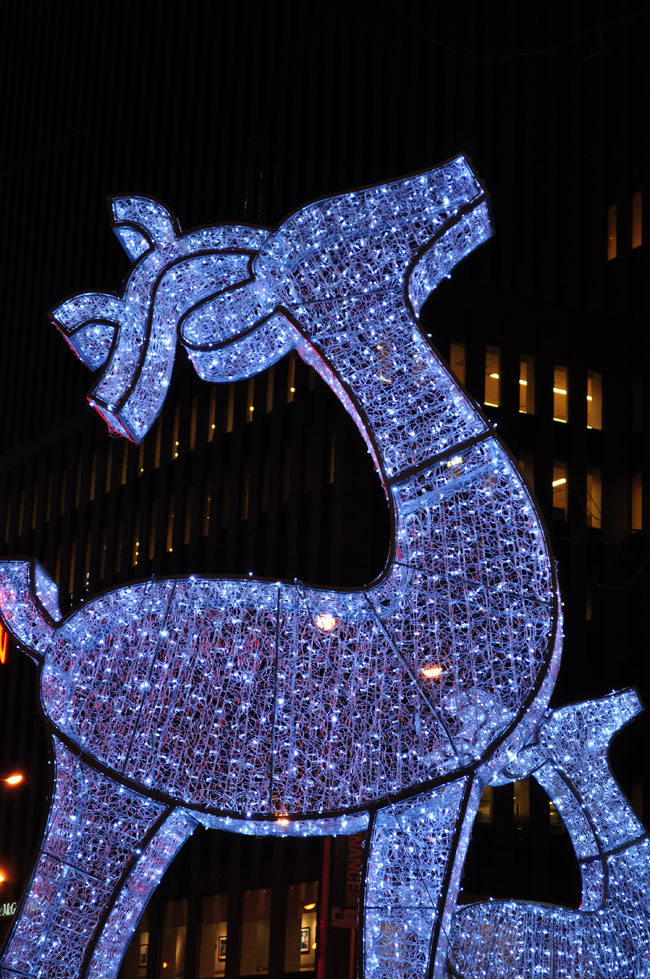
Selective cropping can also be done with figures. Think about where you might crop into a portrait of a person and keep that in mind when photographing statuary or characters made up of lights. In this case the bottom of the frame wasn’t very pretty so it was cropped out.
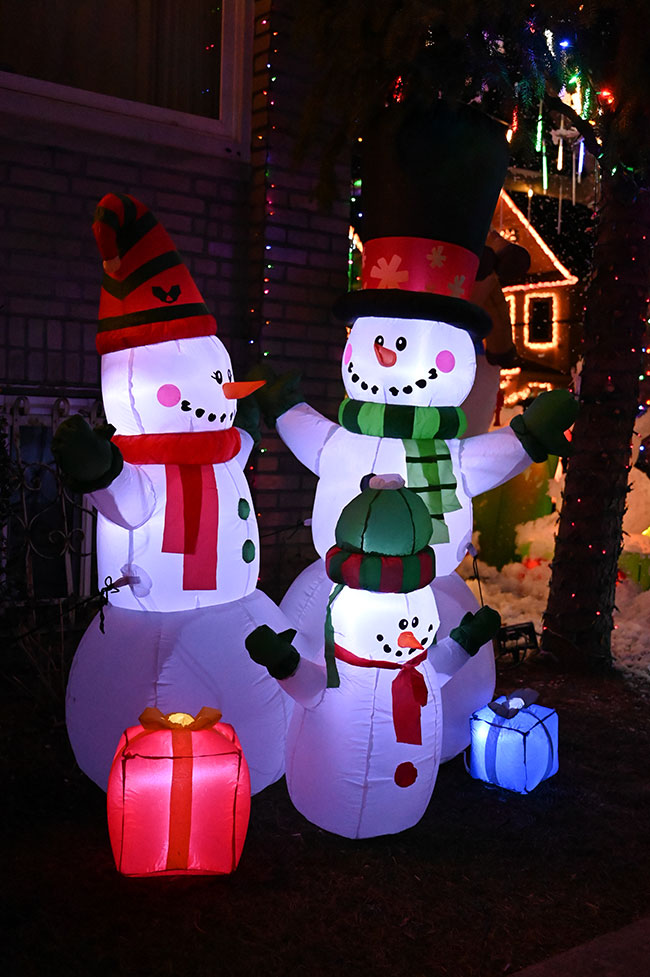
Holiday light displays are fun to view and can be even more fun to photograph. These days there are lots of varieties you’ll find if you scope out your neighborhood, from figures made completely out of tiny colorful lightbulbs to statuary and even the trendy blow up characters that have made it to lawns everywhere, for different holidays throughout the year.
Whether you spend time walking around your neighborhood, driving past the local holiday display hot spot or just photographing your own decorated yard, a few simple tips will make it easy for you to get great photos of holiday lighting displays.
A wide aperture lets you separate your subject from the background, and adds nice bokeh or blur to the image.
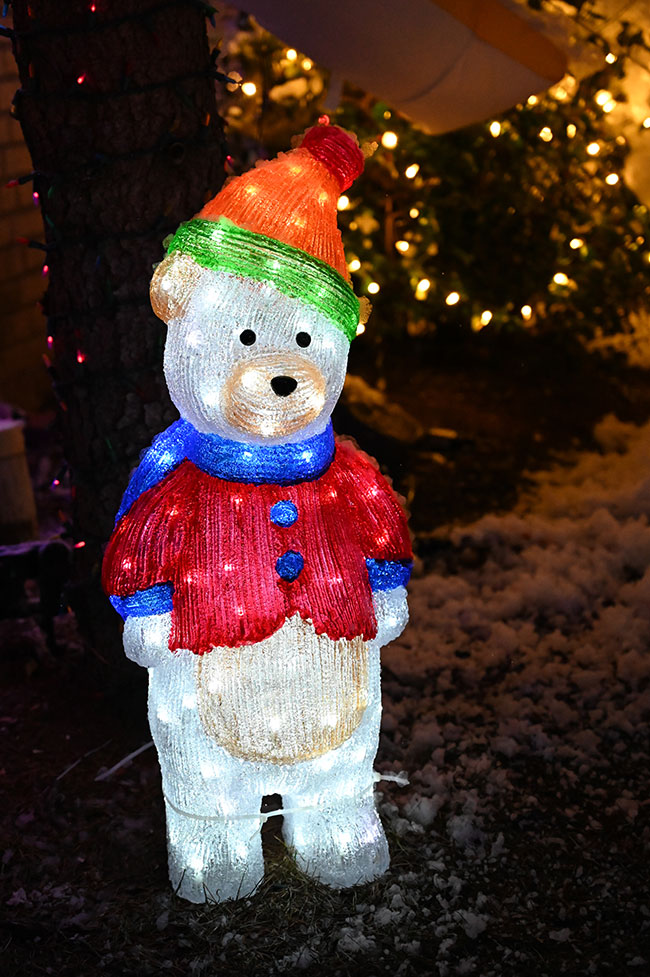
Add some of the background to the image if it adds something to the composition. You don’t always have to crop tight on your subject.
To ensure that your scene will have some of the background visible and exposed, shoot at dusk. This will allow for the lights to glow and look lit but you’ll also be able to expose for the ambient light in the scene and see the background too.
Use a tripod if you have one but don’t let it stop you from shooting if you don’t. Simply turn on the VR image stabilization on a Z series mirrorless camera or DSLR with a VR lens. This will let you handhold the camera at a slow enough shutter speed to be able to capture the glow from the lit bulbs but stay sharp enough overall.
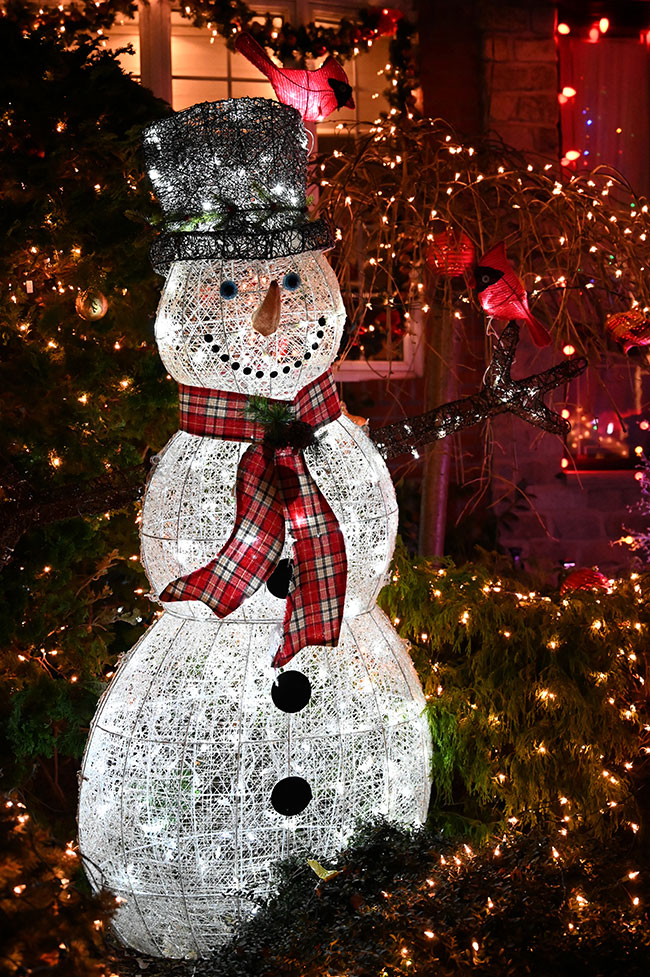
Sometimes you want to include the background, sometimes you don’t. There are multiple ways you can separate a subject from the background, using a wide aperture, cropping or lighting. In the case of this image, the shadow areas were brought down even further in post-production.
It is ok to include the wires or stands holding up holiday decorations as they’re part of the scene. If you really don’t like them, you can work some post-production magic in image editing software and remove them.
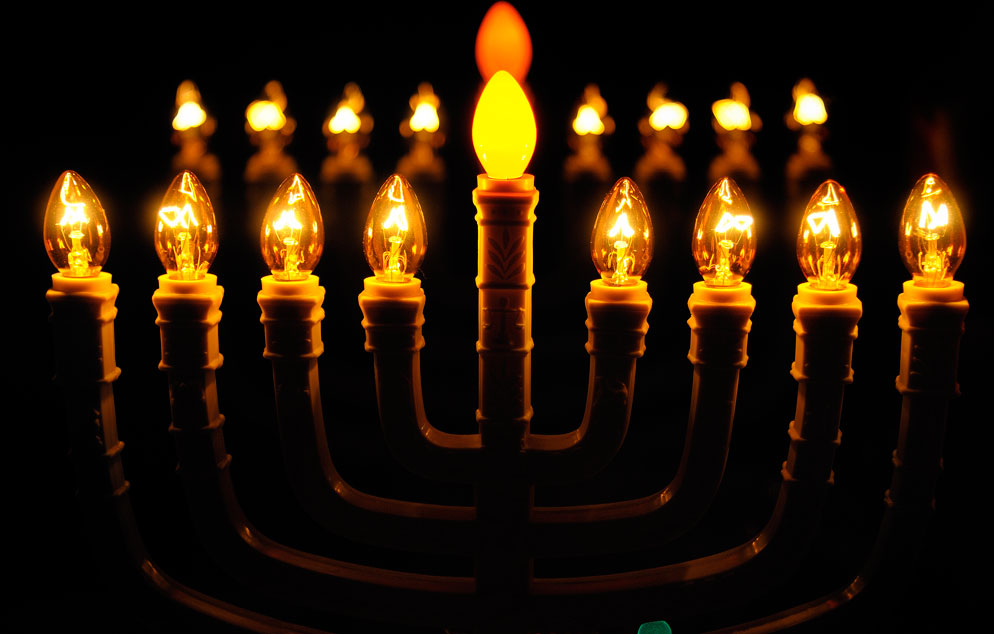
When photographing a subject made out of lights such as a lighting display or even a figure fashioned out of strings of holiday lights using a slow shutter speed allows for the lights themselves to glow, often with a warm tone. You’ll want to do this whether you’re photographing outdoors or indoors.
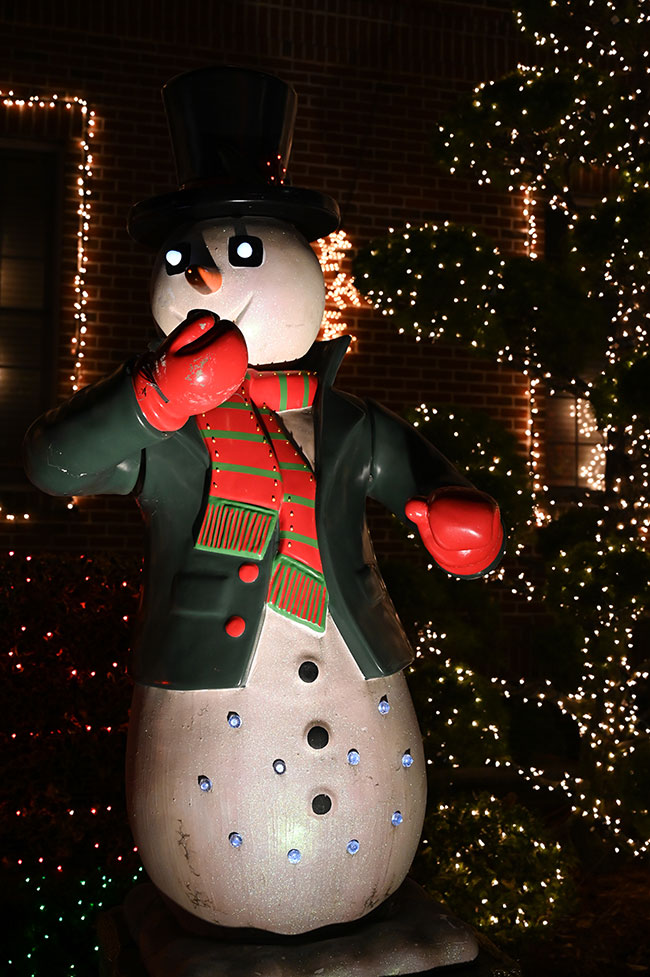
Don’t use your flash when photographing displays made out of lights. If you use a flash, the light will wash out the colors of the bulbs. When photographing holiday lighting displays, you want to capture the soft, warm glow of the lights. There is one instance where you may want to use fill-flash and that’s if you’re photographing a statue-like display that is not made of lights itself. In that case adding low-powered fill-flash may illuminate the character/statue but not completely wash out all of the lights in the entire scene.
Increase the ISO. You may want to increase the ISO to let you use the shutter speed and aperture combination you want for the effect you’re after. We’ll explain more further on…
Today’s holiday decorations can be made of any number of materials including all strings of lights, blow up figures or characters or solid figures and the way you expose for them will be a little different depending upon whether they’re made of lights or not. You’ll want to use a slower shutter speed to capture a decoration that’s made up of only lights.
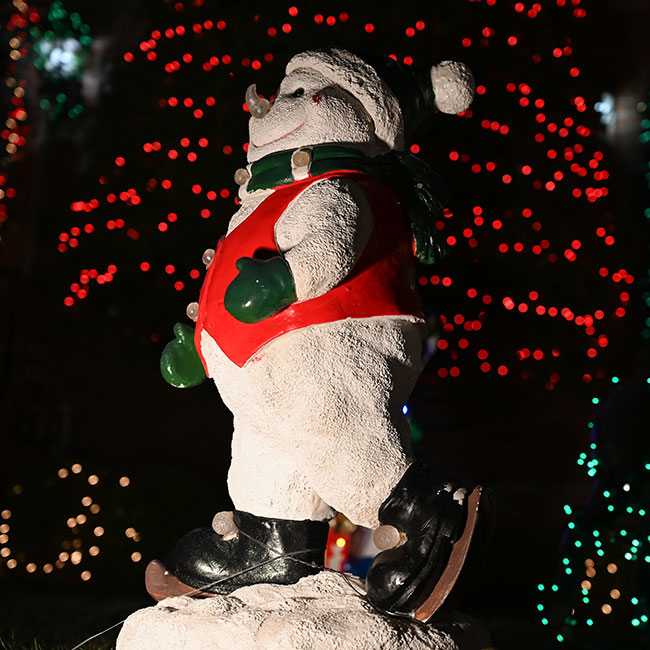
The snowman in profile was photographed this way because the background when looking at it straight on was streetlights and traffic. So for a more holiday themed background the profile was the only option. When you're photographing a statue or other solid object you can use a little fill-flash or even the light from a flashlight to add some illumination.
Get that starburst look. Using a small aperture, such as f/16 or f/22 when photographing small bright pinpoints of light will cause those lights to look like small starbursts.
Use a wide aperture or “fast lens” to separate a main subject from the background. If you’re photographing one subject (an object or character figure) and want to separate it from a cluttered looking overly decorated background, use a wide aperture of f/1.8, f/2.8 or even f/4 if that’s as wide as your lens opens. Focus on your subject and the background will go out of focus. The amount of out of focus blur or “bokeh” is dependent upon the aperture you’re using. The wider the aperture, the more blur or bokeh.
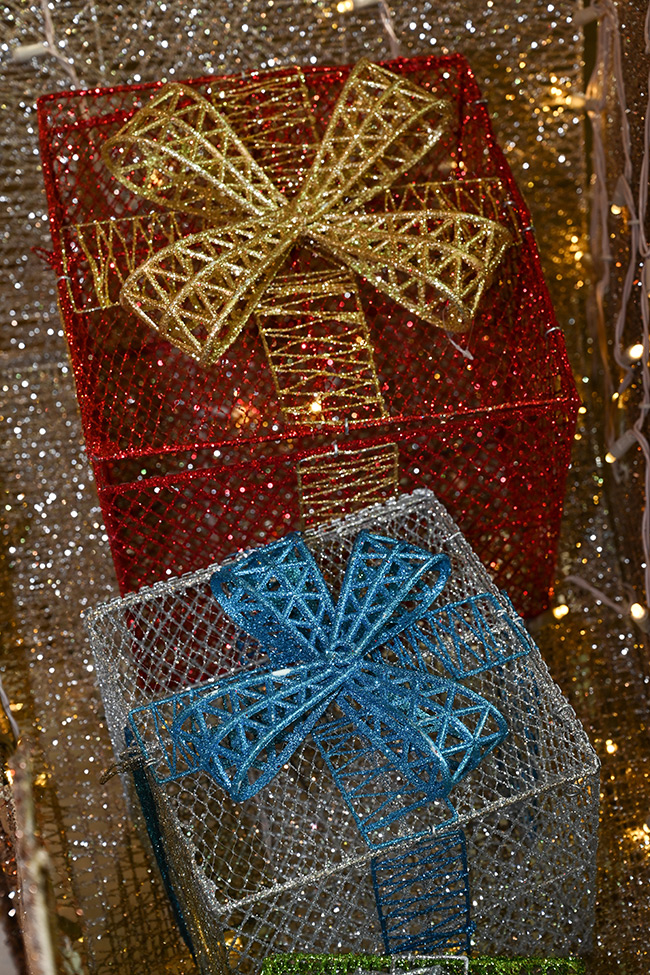
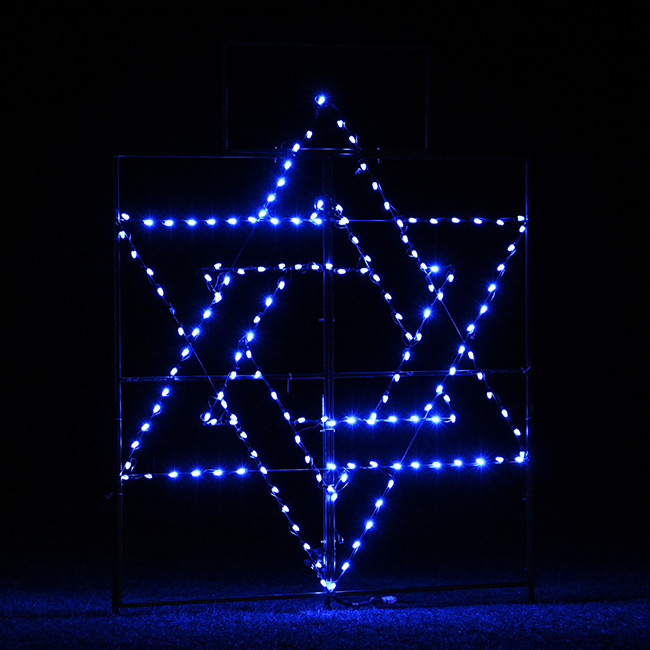
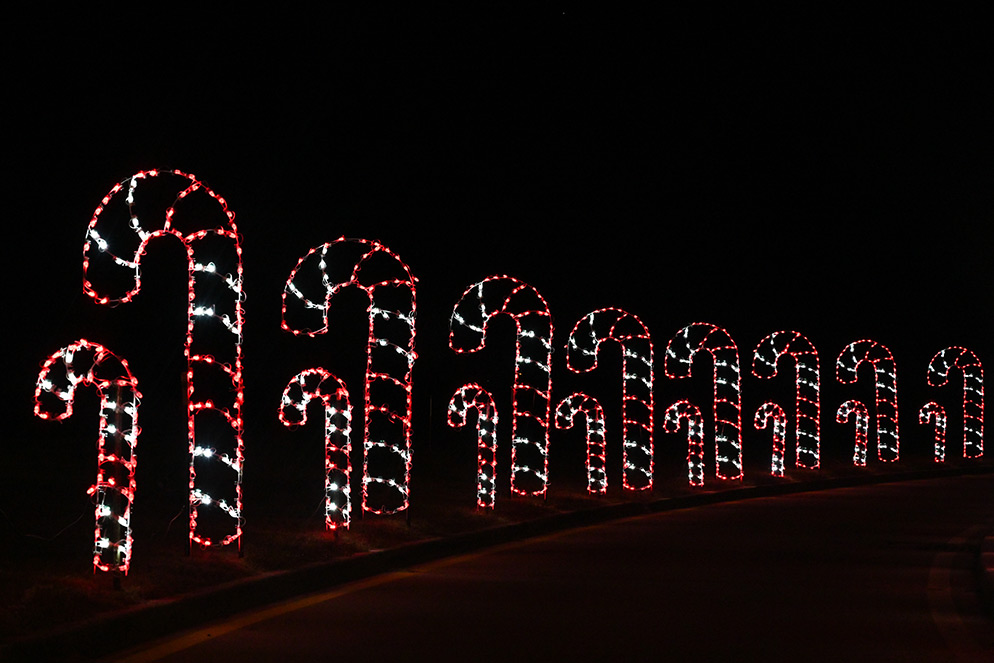
Don’t think that you must photograph the entire subject. Think about creatively cropping in camera. For example, this display of boxes made out of lights is actually made up of three boxes. You can see a tiny bit of green lights of the third box at the bottom. Including just two of the boxes looked more balanced than the entire display so the decision was made to crop it out in the camera.
Make sure to turn your flash off, and let the camera's meter expose for the lights in the scene when the subject is made up of only lightbulbs. This will ensure the bright colors of the festive lightbulbs will be as vivid and colorful in your photograph as they were in real life.
You can get really creative by photographing a handful of colorful lightbulbs by unfocusing your camera’s lens. You’ll want to set the camera to manual focus and turn the lens barrel until you see the look you like. This is the “traditional holiday bokeh” shot. These abstracts will differ depending upon the variety and number of different colors you shoot. Check out this article to see exactly how to do it.
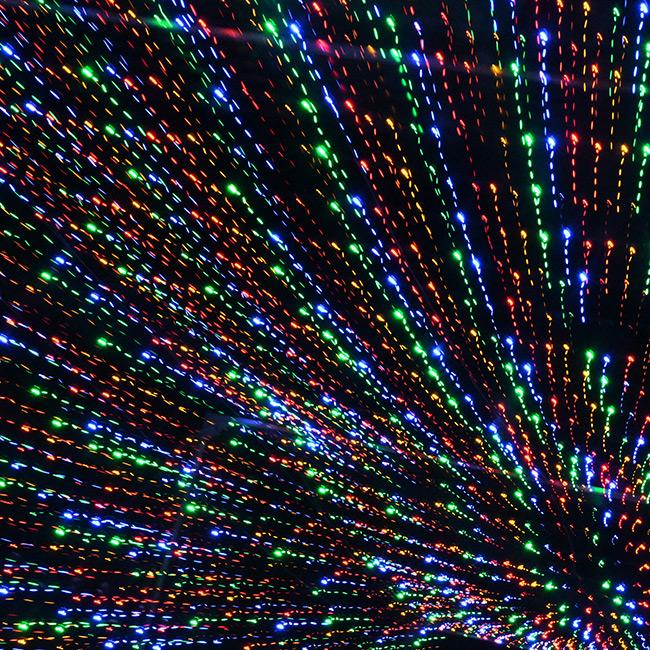
Another creative technique you can use when photographing a holiday light display is zooming in or out during the exposure. Set the camera to either manual or shutter priority exposure so you can control the duration of the shutter speed and select a shutter speed around 1/15 of a second or slower until you see what you like.
Experiment with white balance to adjust the color tone of your images. Especially when photographing older strands of holiday lights, which utilize Tungsten bulbs (it’s the lightbulb icon) for a warmer hue.. If you’re using a Z series mirrorless camera you can even play around with the 20 Creative Picture Controls for an even more wild look.
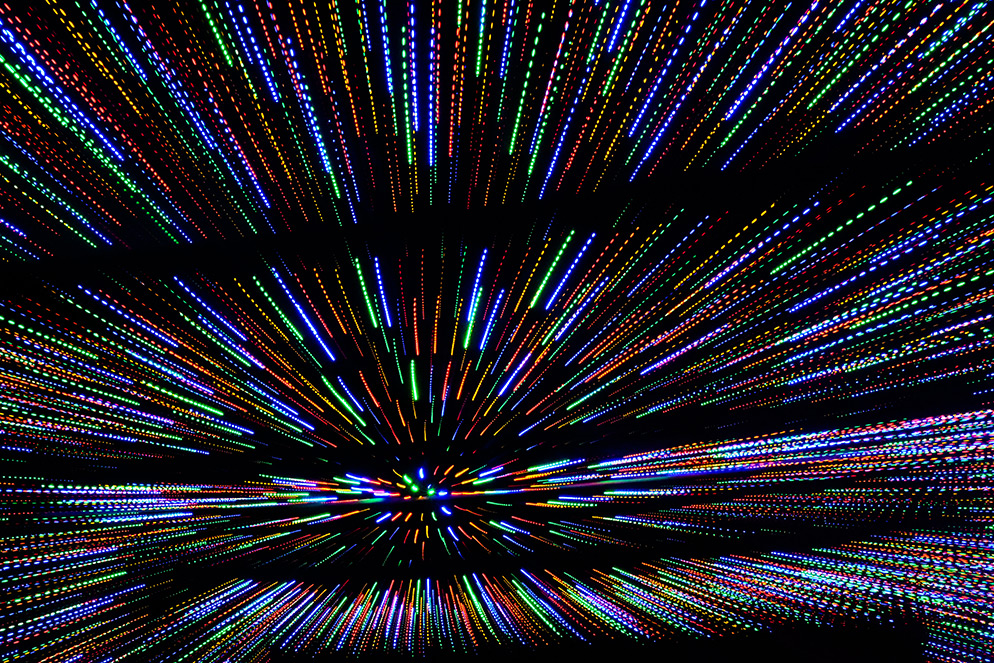
Try creating unique art from a holiday light display. Here the photographer turned the zoom ring on the lens barrel as the photograph was captured. Set the camera to either manual or shutter priority exposure mode so you can control the duration of the shutter speed. Shutter speed 1/6 second.