Tips for Shooting in Cold Weather
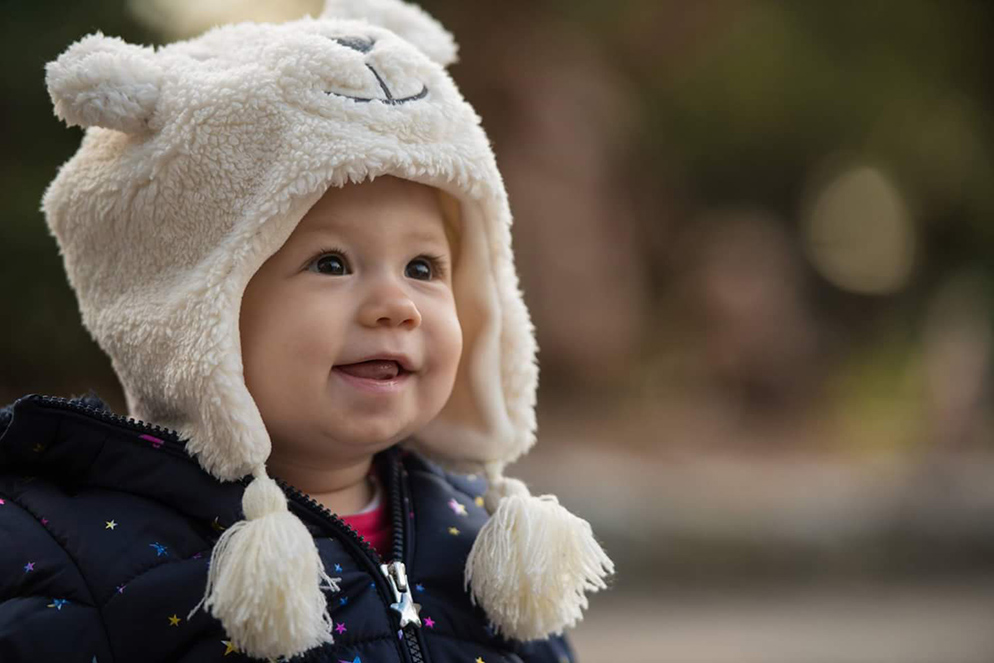
Using a wide-aperture, you can blur the background, putting more emphasis on your subject, like we did with this toddler here. The cute polar bear hat makes the photo even more fun.
Living in a colder climate, or when you’re going outdoors during the winter months, a couple of simple tips can ensure you won’t get interrupted by the weather.
Most of today’s digital cameras are designed to do well in weather down to at least freezing, and that includes Nikon DSLRs and Z series mirrorless as well as COOLPIX point & shoot cameras. Unless you’re going to be photographing in the Arctic or Antarctica you should be fine. And even then, we know lots of pros who go to these extremes to take photos and video and don't have issues with their Nikon gear.
Nikon even makes COOLPIX cameras that are waterproof/freezeproof/shockproof. These cameras are freezeproof down to a temperature of 14°F. Because they are waterproof, they're great for outdoor winter sports like skiing or snowboarding. And if you accidentally drop one of these waterproof cameras into a snowbank—no problem. Just pick it up and wipe it off.
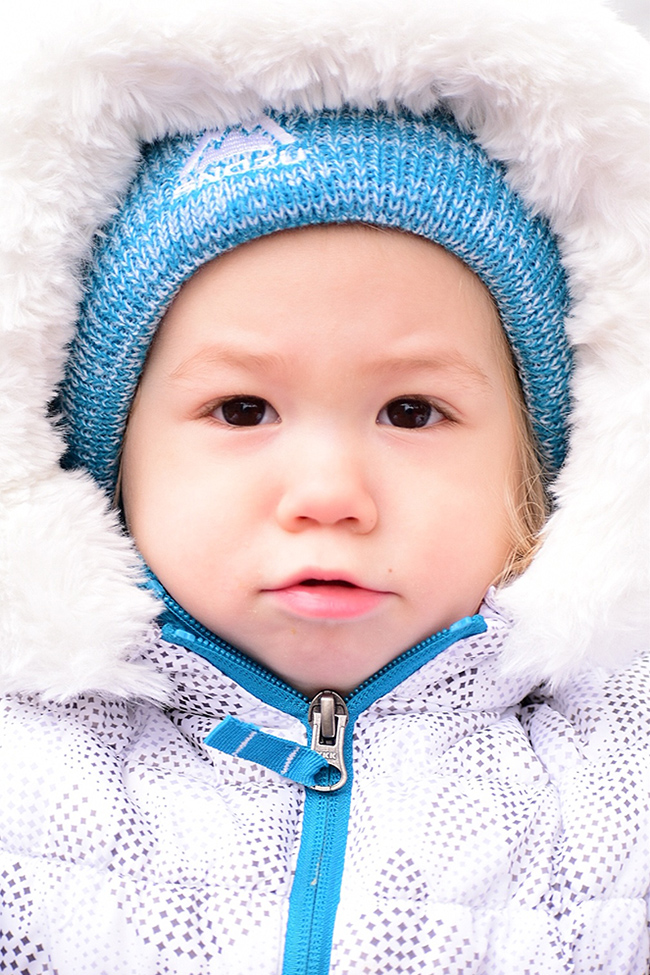
Zoom in really tight for a great portrait of your toddler. In this photo you can’t even see any background environment because of the way the photographer composed the photo.
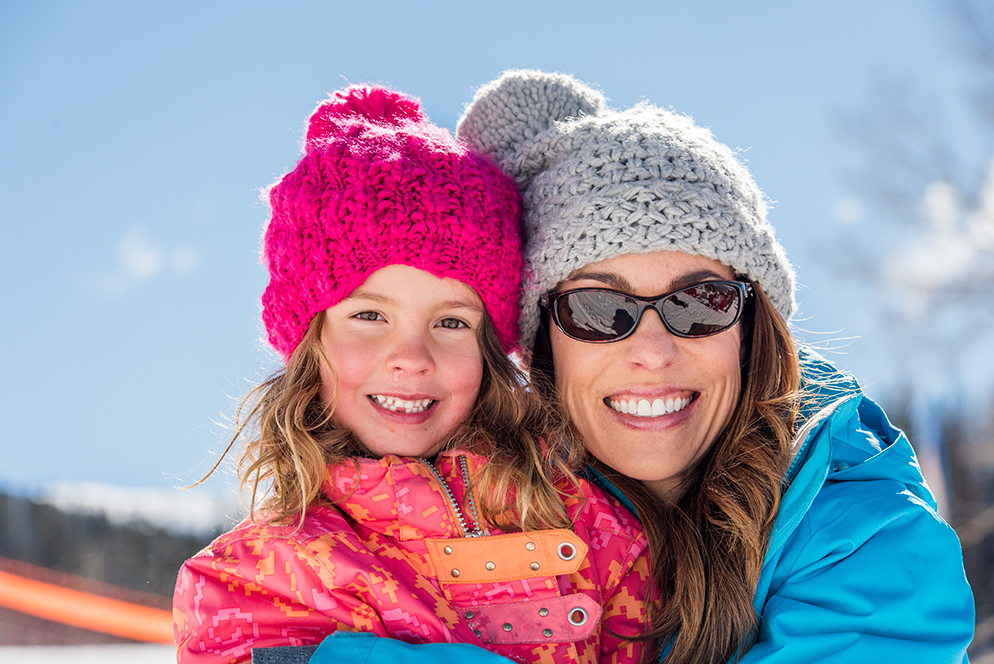
Get into the shots too moms! Moms so often take all the family photos but never get into them.
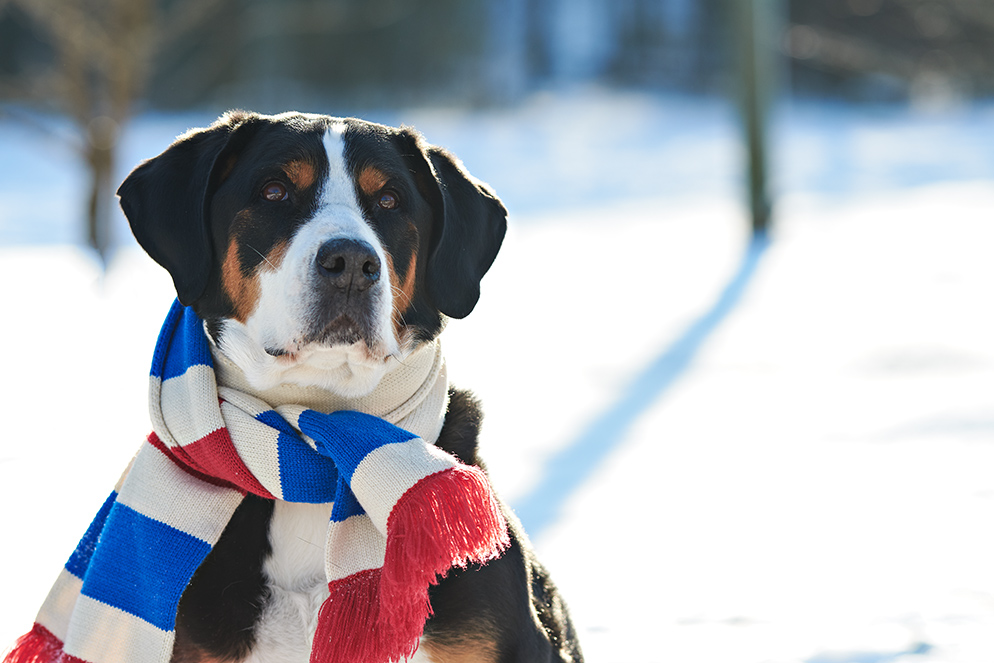
Get your pups in on the action. Most dogs love the snow and whether they’re wearing your scarf or hat, or their own doggie coat and booties, they’ll look adorable in photos.
Make sure your battery is fully charged. The cold can often drain batteries of any kind so you want to have at least a fully charged battery in the camera. If you will be out shooting for hours or will be photographing nature or wildlife for instance and will be trekking to your location, you’ll want to bring an extra battery or two with you. Keep them inside your coat, in an inner pocket if possible.
Similarly to how you would change batteries, media card or a lens when shooting at the beach or anywhere that may be dusty, you want to shield the camera from the elements. If you can do it indoors, that’s great. If not, at least try to block any wind, rain drops or snowflakes from getting inside the camera. This is most important if you’re going to be changing lenses—only do so outside if you absolutely must!
Use your lens hood (f your lens came with one)—its provided for a reason. The lens hood keeps raindrops or snowflakes from falling directly onto the exposed front lens element.
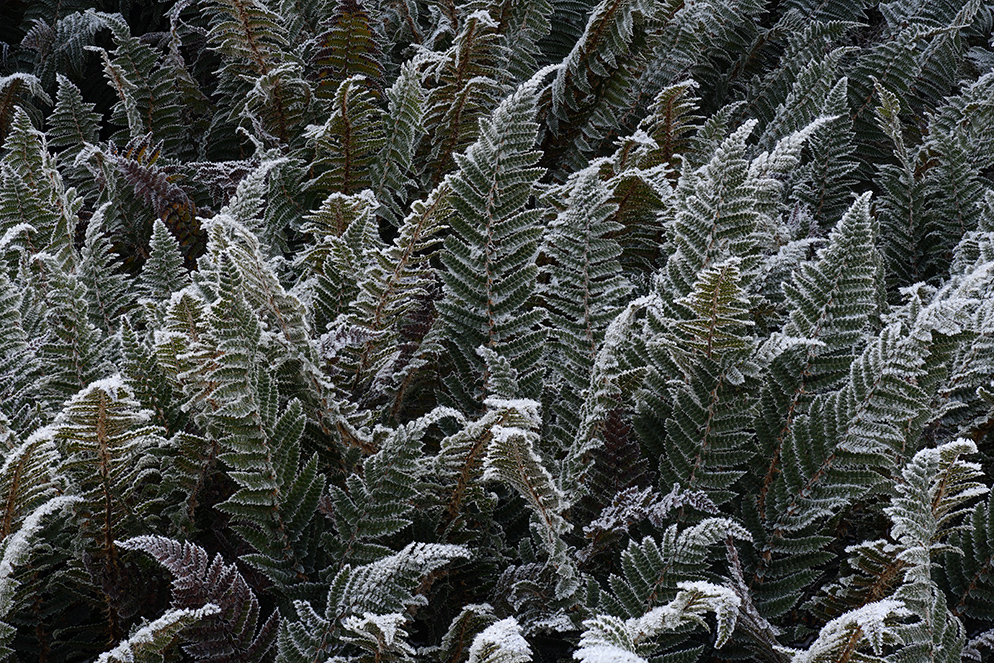
Bundle up after a snowfall and visit your favorite nature area for photos like this one, of ferns in snow. This composition is a great example of an abstract photo highlighting the subject’s colors and patterns.
Pros often use flagship camera bodies and pro grade lenses which are weather sealed because they’re designed to be used in all types of locations and weather situations. There are some simple tips you can follow to keep your gear in tip-top shape. If you plan on doing a lot of shooting in the rain or snow, you can find (optional) commercially available rain covers.
If you’re on vacation and find yourself in inclement weather and no camera store in sight you can create a makeshift camera cover using a large zip-top bag and a rubber band or a shower cap (that you may find in the hotel bathroom) and rubber band. Cover the camera with the bag or cap rubber banded around the lens barrel, leaving an opening for the lens. (Keep a small towel in your camera bag in case you do need to dry things off.)
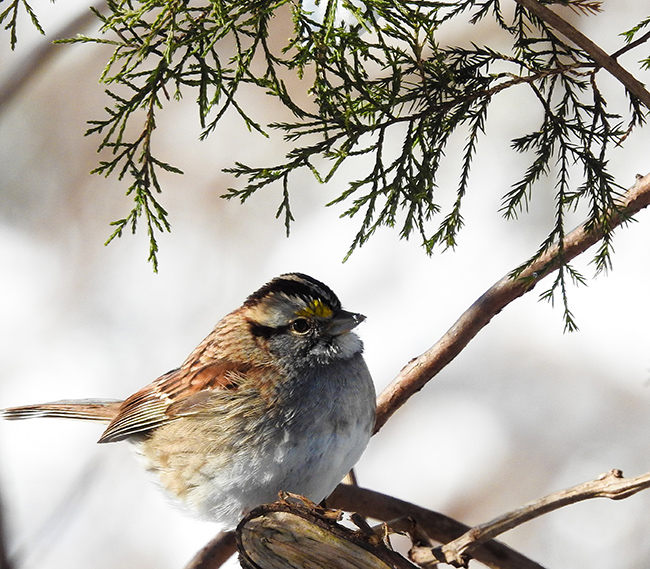
Look out your back window for small birds, squirrels or other creatures to photograph in a snowy environment like this White Throated Sparrow, sitting on a branch.
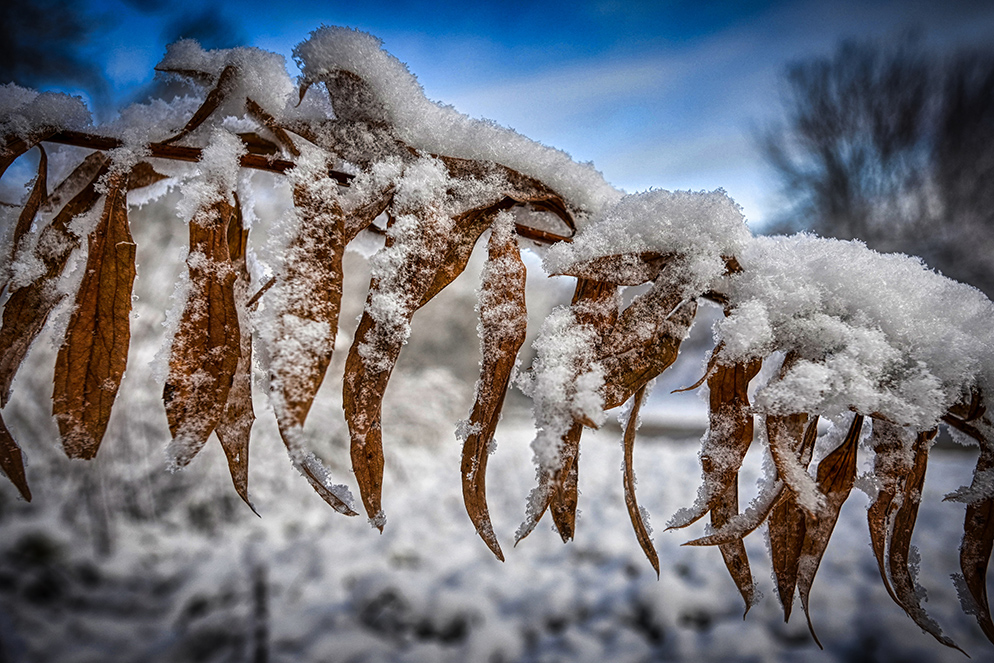
New snow on autumn leaves after a late autumn snowstorm. The aperture is wide enough to blur the background somewhat, but not too shallow so you can still make out detail in the background.
Camera settings for photographing in the snow
To make sure the snow in your photographs looks white, try these settings:
-
If your camera features a Snow or Snow/Beach Scene Mode, use it. It’s designed to expose snow correctly.
-
If it’s sunny out, set the White Balance to Sunlight; if it’s overcast out, set the White Balance to Cloudy so there isn't a color cast to your images.
-
If the camera doesn’t have a Snow Scene Mode, set it to Matrix Metering. Usually this metering mode will choose the correct exposure for Snow.
-
Snow should look like beautiful white snow. Today’s camera meters are designed to be smart enough to know you’re photographing snow, want it to look white and will adjust the exposure accordingly. If however, you feel you still need to adjust the exposure, after looking at the image on the LCD, you can use Exposure Compensation. If the snow doesn’t look white, use the exposure compensation to overexpose the scene. Try +.3 (1/3 of an f/stop) first. If that doesn’t do the trick, try a setting of +7 (2/3 of an f/stop), and if that’s still not enough, you can try a setting of +1 (one full f/stop).
-
On overcast days you may have a blue cast to the snow. To fix this, adjust the white balance to cloudy so it records the color correctly. As a creative side-note, you may want to keep the blue cast, as blue tones denote cold or cold weather.
-
If you’re comfortable doing so, shoot RAW. You will be able to make adjustments to exposure and white balance without degrading the image file.
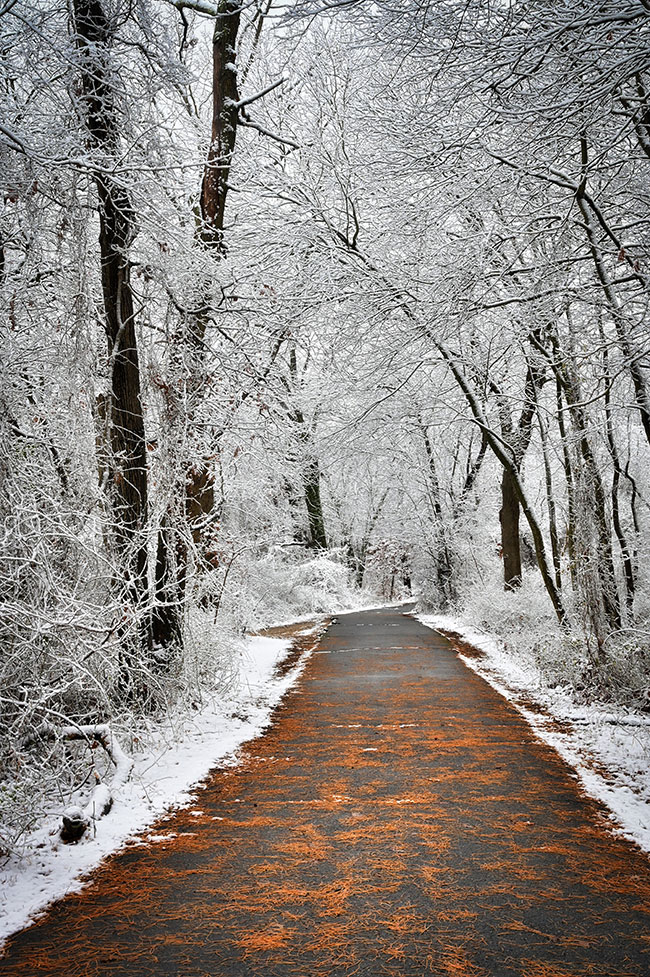
Because the snow cover is only on the trees and grassy areas and the path is covered in the brown tones of the autumn leaves, there is a warm and inviting nature to the scene.
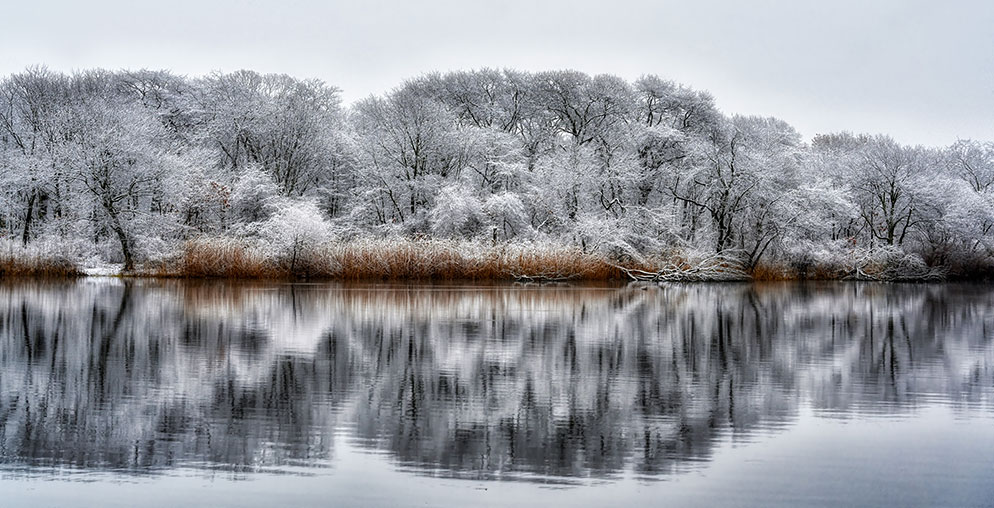
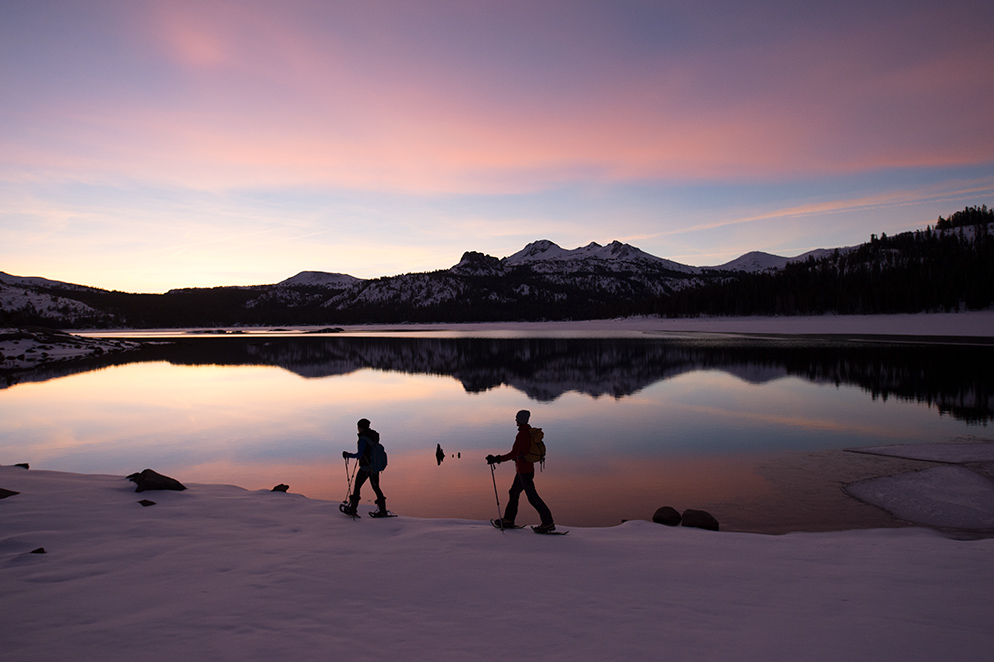
Tranquil water acts as a mirror, reflecting the entire landscape. Placing the horizon in the middle of the frame makes for a beautiful and symetric photograph.
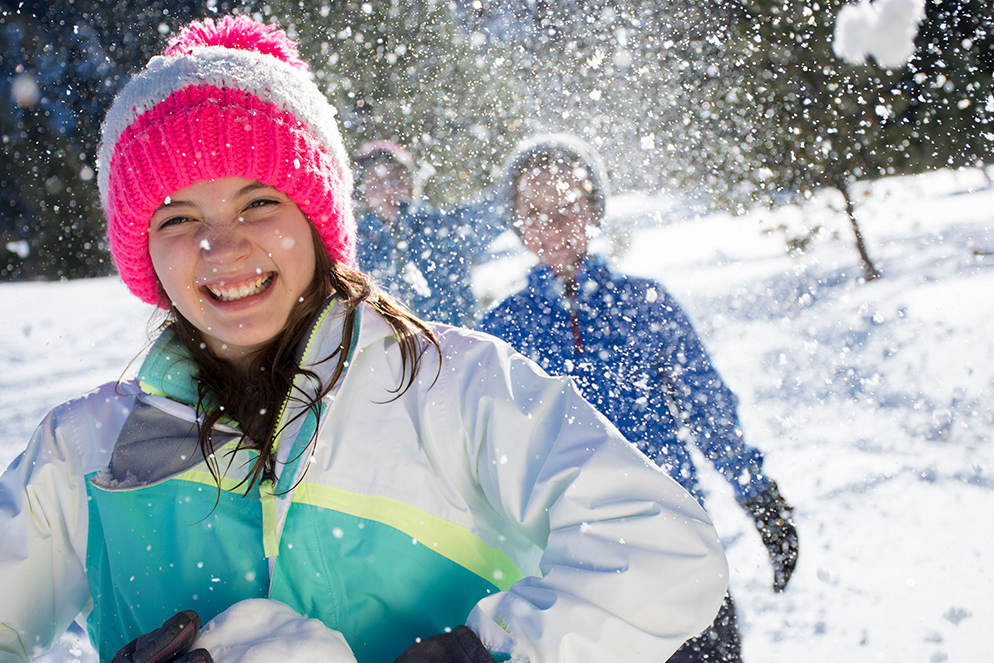
When snowflakes are very close to the camera and you use a flash, the flash will illuminate the snowflakes, and you’ll see those as hotspots in your image. Because of this, try not to use your flash if at all possible while its actually snowing.
When you go outside into the cold with your camera, place it in a backpack or camera bag. This way, if you're going indoors to warm up, place the camera in the bag, zip it shut and allow it to gradually warm up. If it warms too quickly, it will fog up. (This also happens when you go from an air-conditioned building outside into hot and humid temperatures in the summer). You may have to wait for it to acclimate to the temperature before you can take more pictures.
Keeping Warm when its Cold Outside
As far as your comfort is concerned, it's most important to keep your hands and feet warm. Depending upon whether you’re going to go out hiking for the perfectly undisturbed snow covered area or just go into your yard to take photos of the kids having fun in the snow, wear appropriate cold weather gear like a warm hat, gloves and boots. Some people like to use fingerless gloves when they do a lot of shooting, others wear thin gloves while actually using the camera but thicker, warmer gloves or mittens when walking or hiking. Be smart when trekking through the snow, especially if going on a winter hike to take photographs is a new activity for you. Always dress in layers too.
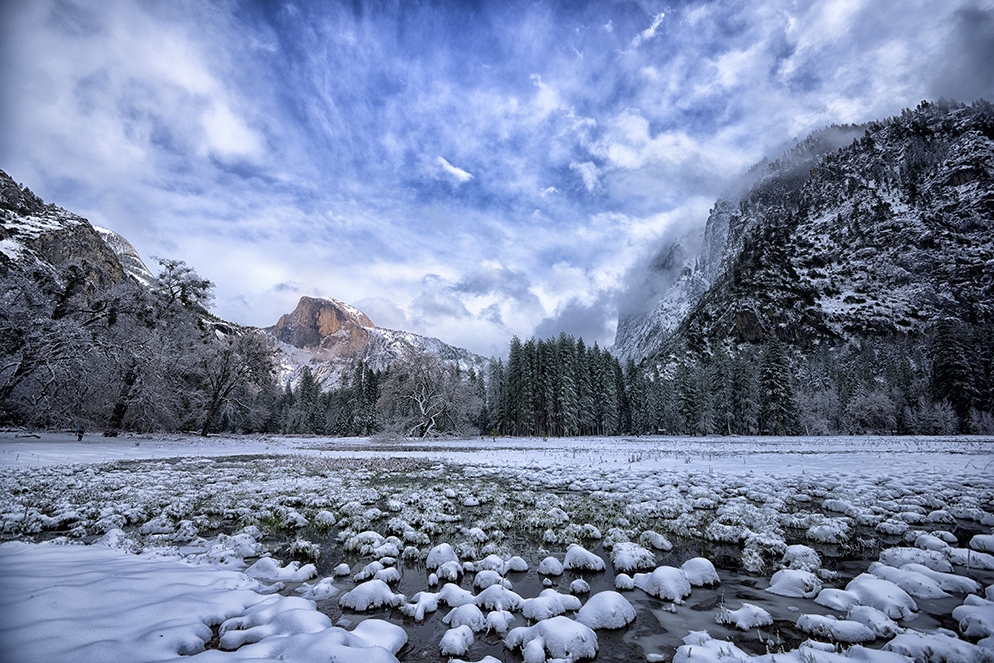
One of the best things about photographing in the winter is that new pristine snow on the ground covers up a lot of clutter, giving not only beauty but graphic simplicity to your images.
So, just because its cold outside—doesn’t mean you’re stuck inside. Bundle up, grab your camera, keep warm and have fun shooting.

The Nikon Z 6 mirrorless camera's square (1:1) format was used for this image of evergreens covered in a light snow. The fence in the foreground is an example of leading lines, which lead the viewer's eyes throughout the frame.


