Creating Compelling Wildlife Imagery Without Super Telephoto Lenses
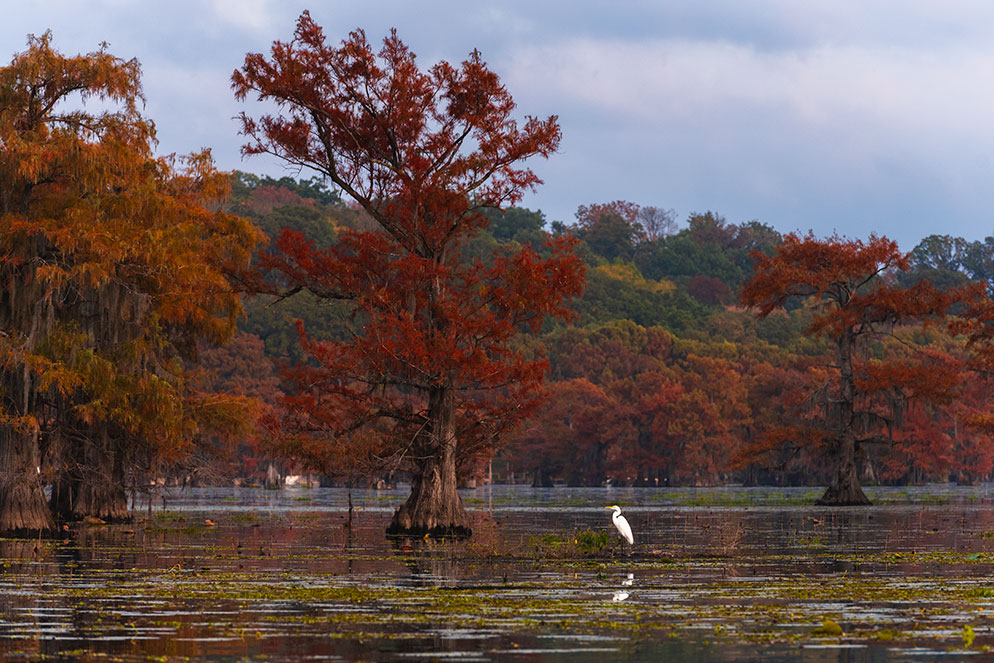
An egret stands in a Louisiana swamp as peak fall foliage decorates the cypress trees. Z 7, Mount Adapter FTZ, AF-S NIKKOR 70-200mm f/2.8G ED VR II at 200mm focal length, 1/400 second, f/5.6, ISO 400.
Lens envy is indeed a real thing. If you’ve ever hung out with a group of wildlife photographers, the drool factor is real—400mm, 500mm, even 600mm lenses are seemingly the normal choice—but are super telephoto lenses really necessary for amazing wildlife images? These lenses do indeed have their place in wildlife imagery, but there are plenty of ways to create wonderful wildlife images with smaller focal lengths.
Before we get going, I want to empathize that whenever you are photographing wildlife, respecting the animal and its environment comes before capturing any image!
Responsible photography
No matter whether you’re photographing a giant grizzly bear or a tiny hummingbird, whether you’re five feet or five hundred feet away, responsibility and respect need to come before any image you create. Make sure you never interfere with wildlife as your actions could be detrimental to their habitat, feeding habits, offspring and more. Don’t lure any animal closer with food, cell phone apps, or by cornering them.
I’ve seen photographers literally chasing and yelling at animals through national parks in order to get their shot. At this point, you’re only scaring or even angering the animal, and trust me, it won’t work out to your benefit. Also, follow the ideology of “leave no trace.” Tread lightly, follow paths, and don’t destroy areas in order to have them “look better” in your frame. This is the animal's home, not yours.
Understanding the animal you want to photograph
No matter what lens you are about to pull out of your bag, I truly believe that having an understanding for the animal that you’re about to photograph can greatly aid in your ability to capture a beautiful image. This means taking into consideration the animal’s habitat, feeding methods, body language, whether it can be aggressive, is it nocturnal or diurnal, is it more active during a particular season, does it have any unique features...just to name a few considerations.
Building a small foundation of knowledge about your subject can truly be beneficial. Understanding how to keep yourself safe around the animal is also something I recommend knowing prior to photographing it. This is especially important if you’re not with another experienced wildlife photographer.
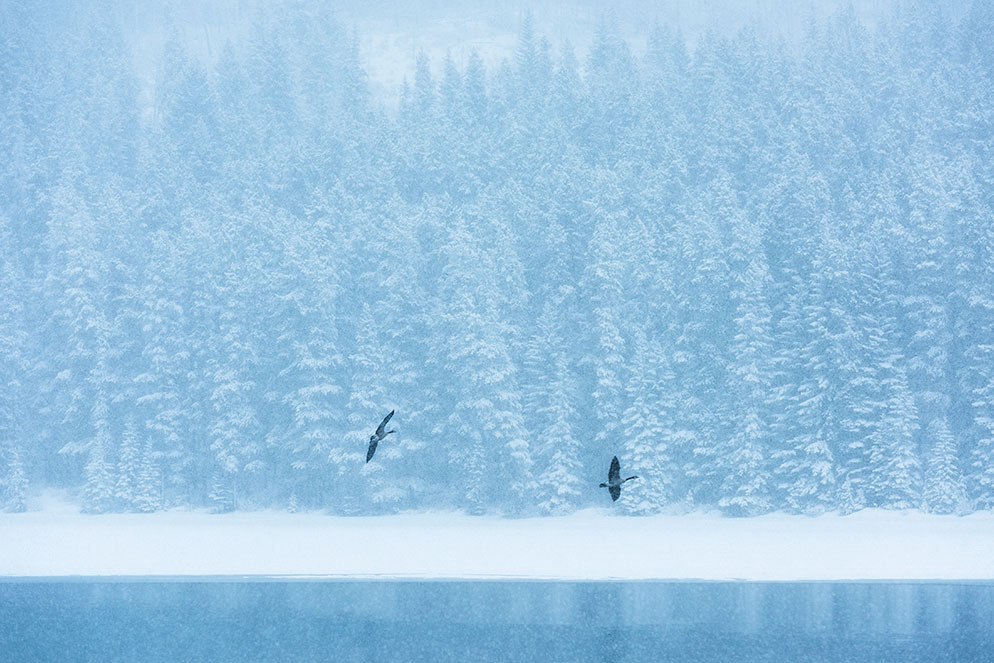
Two Canada Geese fly above Two Jack Lake while heavy snow falls in Banff National park. D810, AF-S NIKKOR 70-200mm f/2.8G ED VR II at 122mm focal length, 1/500 second, f/5.0, ISO 400.
If you’re absolutely dead set on capturing those up close and personal, frame filling wildlife images but are limited in your focal length, there is hope using tried and true techniques.
Teleconverters
Your best bet to getting a close shot straight out of the camera while maintaining resolution is going to be by adding a teleconverter for your setup. Teleconverters mount between your lens and your camera body and extend the focal length of your lens.
For F mount DSLRs, you have the choice of a 1.4x, 1.7x or 2.0x.
For Z series mirrorless cameras, 1.7x and 2.0x.
A 2.0x teleconverter, for example, will turn your 70-200mm lens into a 140-400mm lens.
With F mount DSLRs, you do lose a little bit of aperture capability as the cameras only autofocus down to f/8 with the Teleconverter attached. Using smaller apertures means manually focusing. You also lose some light as well.
With regards to the Z series mirrorless cameras however, autofocus works down to f/11.
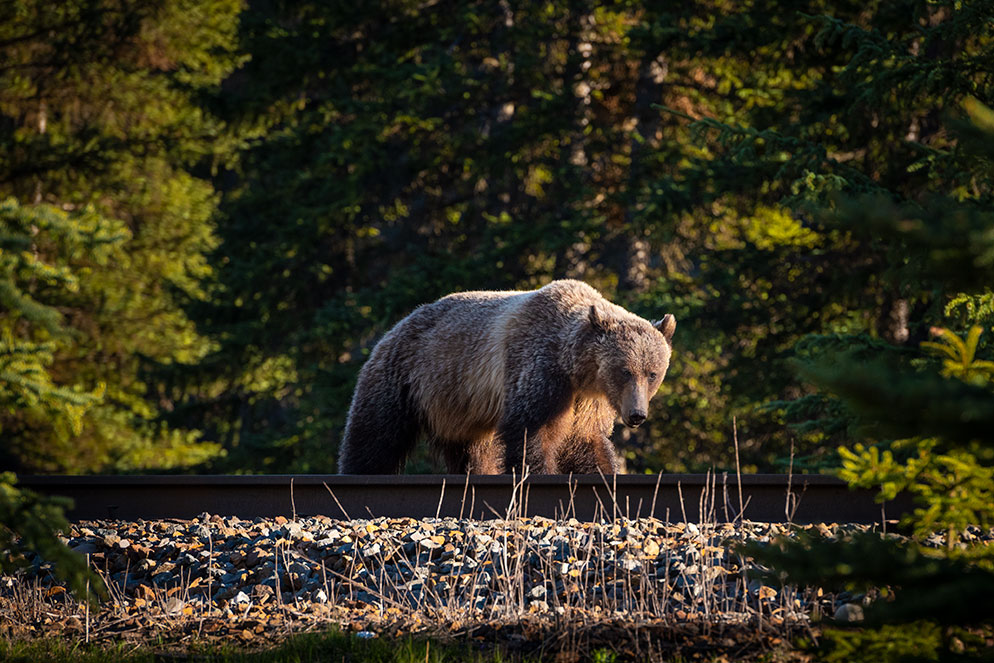
A large grizzly bear walks along a set of train tracks in Canada in search of grain that may have fallen off of the passing trains. D810, AF-S NIKKOR 70-200mm f/2.8G ED VR II with a 1.7x Teleconverter, 1/800 second, f/7.1, ISO 400.
Utilize DX Crop Mode
For full frame photographers, you can cheat to get a “closer” shot by utilizing the DX Crop mode. You’ll find it in the Photo Shooting Menu, under Image Area. What did that change do? Well, you’ve essentially cropped your image in-camera instead of doing it on a computer. It does reduce the resolution. For example, if I use DX mode on my Nikon D850, I’ve taken the camera from 46 megapixels to 19.4 megapixels. Why use it? Well, I try to get things as right in-camera as possible. And, if you aren’t planning on creating super huge prints, you’ll be fine with the reduction in resolution.
Crop the image in post-production
With the megapixels on Nikon cameras being so high now, there’s plenty of resolution to go around. So if you need to utilize a shorter focal length, you just may be able to crop into the shot in post. Of course there are limitations on just how much cropping you can get away with, but again, if you aren’t planning to produce super huge prints this may work for your needs.
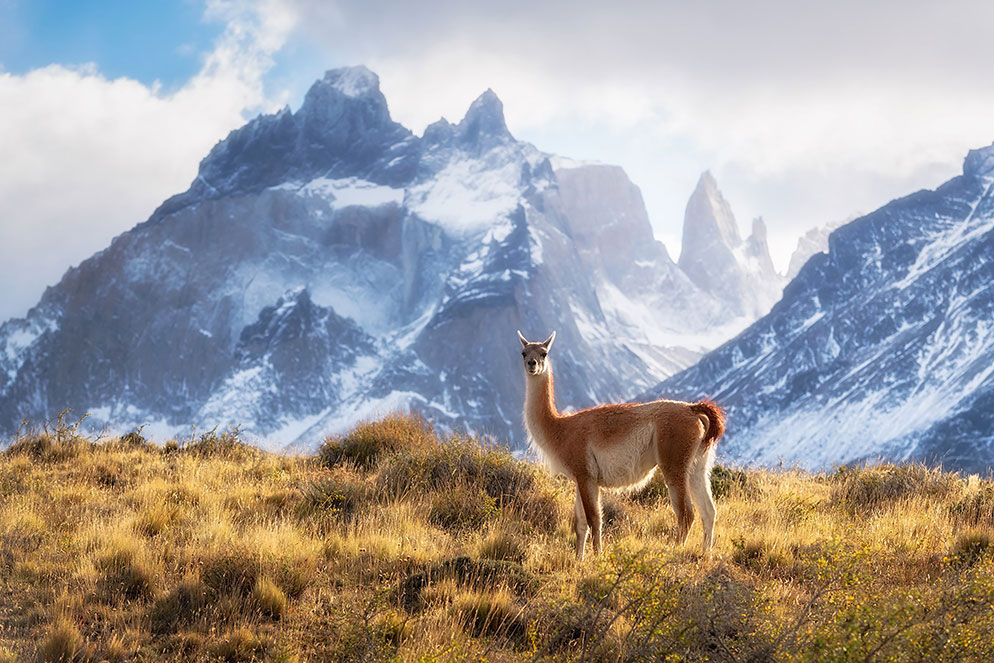
A young guanaco stands atop a hillside keeping a keen eye out for pumas in the mountains of Torres del Paine National Park in Patagonia. D850, AF-S NIKKOR 70-200mm f/2.8G ED VR II at 200mm focal length, 1/400 second, f/2.8, ISO 200.
Use a remote trigger to get closer
Remotes can be an extremely beneficial and fun way to capture wildlife images. If you come across a nest, den or feeding ground, and can safely get your gear into a position that’s close, while still respecting the animal's habitat, a remote trigger will allow you to stay a safe distance from the animal and get the shot. Get creative with wide and medium focal lengths that are triggered remotely for some incredible images. Set your camera to Continuous High so you can capture rapid-fire shots remotely! And, wait until it is safe to retrieve your camera once you’ve captured the images.
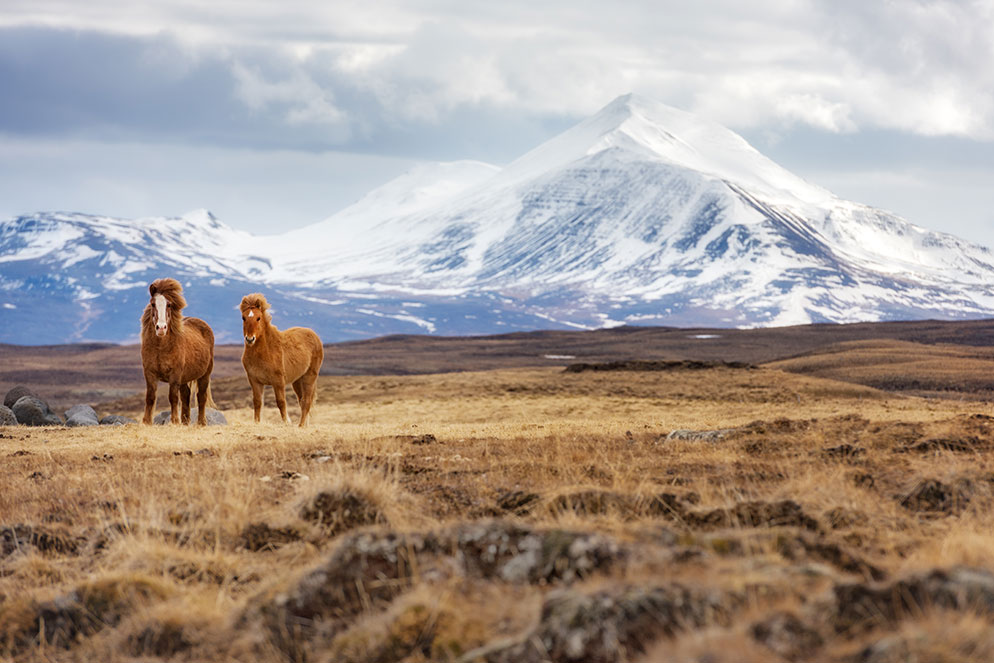
A pair of horses with the beautiful backdrop of the Icelandic mountains. D810, AF-S NIKKOR 70-200mm f/2.8G ED VR II at 200mm focal length, 1/500 second, f/6.3, ISO 100.
Create a scene
Some of my favorite wildlife images aren’t the ones I’ve captured with the animal filling the frame, but incorporating the animal and its environment to complement each other within the frame. Composing a wildlife subject and what’s around it is a fantastic way to tell a story.
Show scale
When you shoot super tight images of animals, you often lose the background and the viewer has no idea how stunning the surrounding area is. I’ll often shoot a wider view to show that area, tying the two in together in one frame. By shooting with a shorter focal length, you can also convey a sense of scale to the animal. This can be beneficial in multiple ways, but primarily in a way to show just how big or small that animal is, or how much of a wilderness the animal lives in.
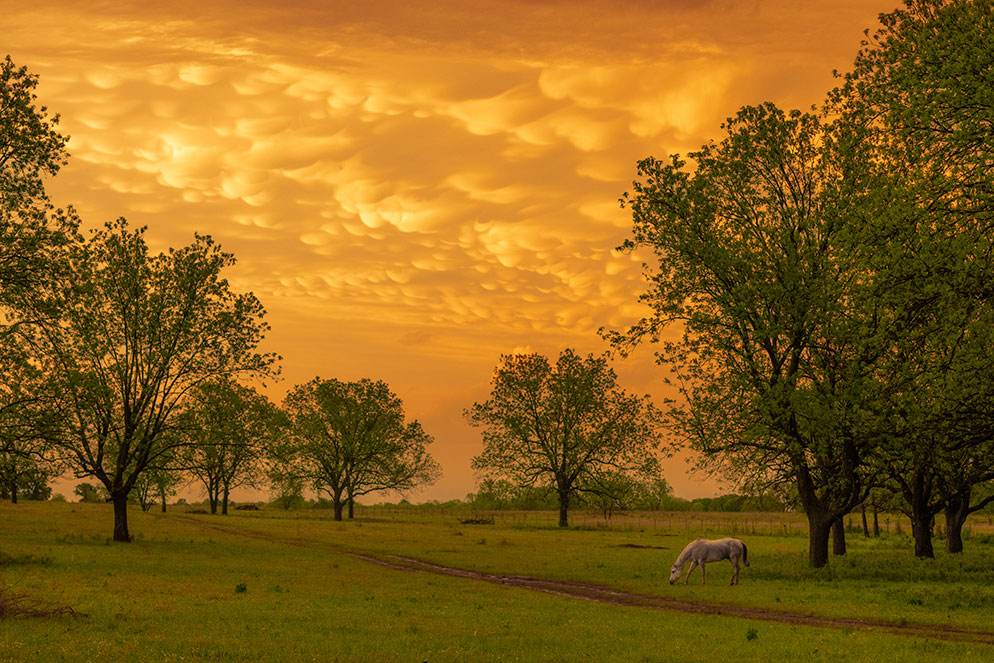
After severe storms moved through southern Oklahoma, a horse grazes a field as a beautiful display of mammatus clouds glow at sunset. D850, AF-S NIKKOR 70-200mm f/2.8G ED VR II at 70mm focal length, 1/640 second, f/5.0, ISO 640.
Working the light
There are often moments where you find yourself photographing wildlife with gorgeous light flowing into the scene. Take this into consideration as it may be the ideal moment to photograph with a wider focal length lens. I prefer shooting with backlighting, if possible, for a beautiful rim light to highlight the animal, or even silhouetting the animal at times.
Creating motion & showing action
Believe it or not, wildlife moves! And with that movement, comes a bit of a challenge for those tighter frames. When you find yourself photographing an animal that’s moving throughout the scene, it can be fun to give them a place to go. Using a shorter focal length, you can create negative space in the direction that the animal is moving to provide a sense of movement.
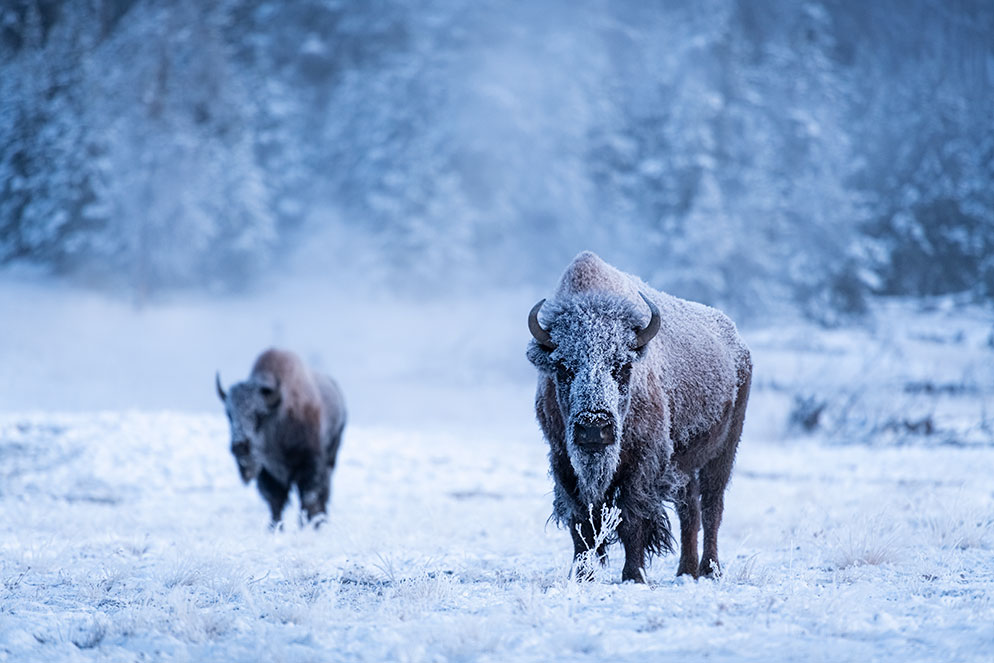
Two bison stand encased in a layer of ice and snow during -8°F temperatures at Yellowstone National Park. D850, AF-S NIKKOR 70-200mm f/2.8G ED VR II at 200mm focal length, 1/320 second, f/2.8, ISO 1000.
Photograph animals in groups
A single animal can make a heck of an image, but coming across herds of bison, a family of bears, or a flock of birds can be a brilliant moment to capture. These moments are when super telephoto lenses can be too much glass and having a shorter focal length lens can save the day. It is quite special coming across an entire herd or family together.
Be patient and pay close attention to details. Keep an eye out for animals that overlap or hide portions of other animals. While recently out photographing bison in Yellowstone, I had a wonderful herd in front of me, but it took some waiting for them to spread out a bit and not have it look like I was photographing a bunch of six or eight legged bison!
Finding ways to get closer
The main challenge with a shorter focal length is obviously the lack in reach that you may have with your subject. If conditions and the animal allows, there are ways to safely get closer to capture more of the image that you envision. First and foremost though, make sure that you understand the laws around approaching wildlife for the area you are in. Most National Parks have very strict rules regarding distances that need to be maintained, and the last thing you want is a hefty fine and no photographs.
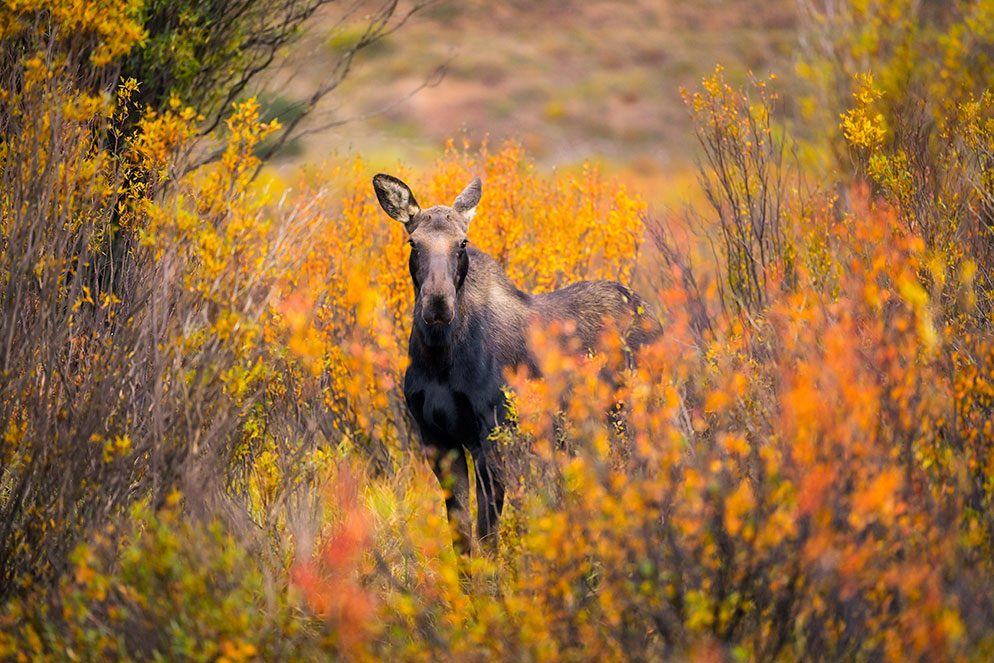
A young moose pokes her head out of the fall foliage in the San Juan Mountains of Colorado. Z 7II, NIKKOR Z 70-200mm VR S lens at 200mm focal length, 1/160 second, f/2.8, ISO 2000.
Tracking
Ii is never ok to chase an animal in order to photograph it, but there are ways to safely track with an animal to possibly get a closer shot. By being able to identify an animal's tracks, you can put on your detective badge and understand a bit more about it. This may not be beneficial to you on the day of, but it may allow you to get in a better position on the following day in order to create an image.
There are several great books that can teach you how to read tracks. This knowledge will allow you to identify the animal, understand where it’s going, what it’s doing (just traveling through? Hunting? Being hunted?) and possibly give you clues on where you may need to be the next day.
Just keep in mind though that if an animal is moving towards you, that you have a safe exit route, aren’t blocking its path, and that you don’t let it get too close to you.
In Canada, I was able to identify elk tracks in the snow while out shooting at sunrise one morning. I followed the tracks and eventually saw his rack across a creek but just below a hill, so I paralleled him until I could see his full body. From there, it was all clicking away!
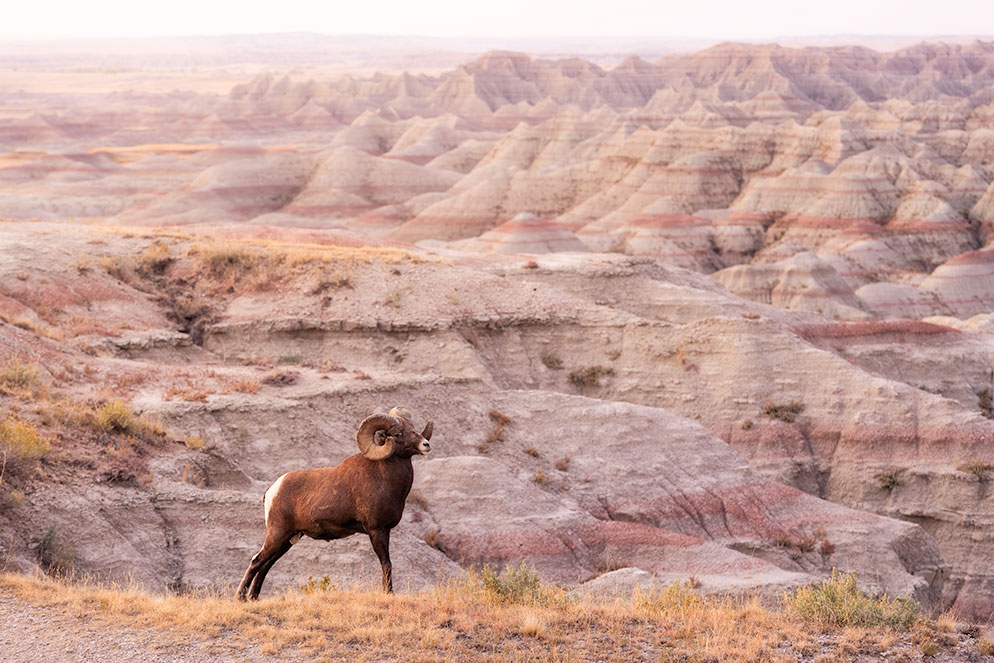
A bighorn sheep strikes a pose in front of the badlands of Badlands National Park at sunrise in South Dakota. D850, AF-S NIKKOR 70-200mm f/2.8G ED VR II at 120mm focal length, 1/3 second, f/5.0, ISO 400.
Ask permission
The dreaded “no trespassing” sign and short lens combination is the kiss of doom. It happens, and unfortunately it happens more than we hope for! I’ve come across some beautiful wildlife moments behind barb wire fences but didn’t have my long glass with me, so instead of just missing the moment, I went back to the simplest of things, asking for permission. There have been numerous occasions where I have been able to gain access to get closer images by simply knocking on the door of the property owner and introducing myself. I tell them what I want to do, and even let them know I’d be more than happy to send them a copy of the image I captured if they grant me access to their property. There’s no harm in asking and I can tell you that I can count on one hand the number of times I’ve been turned down. Bonus tip: by talking with property owners, they can often tell you where to look for other animals in the area.
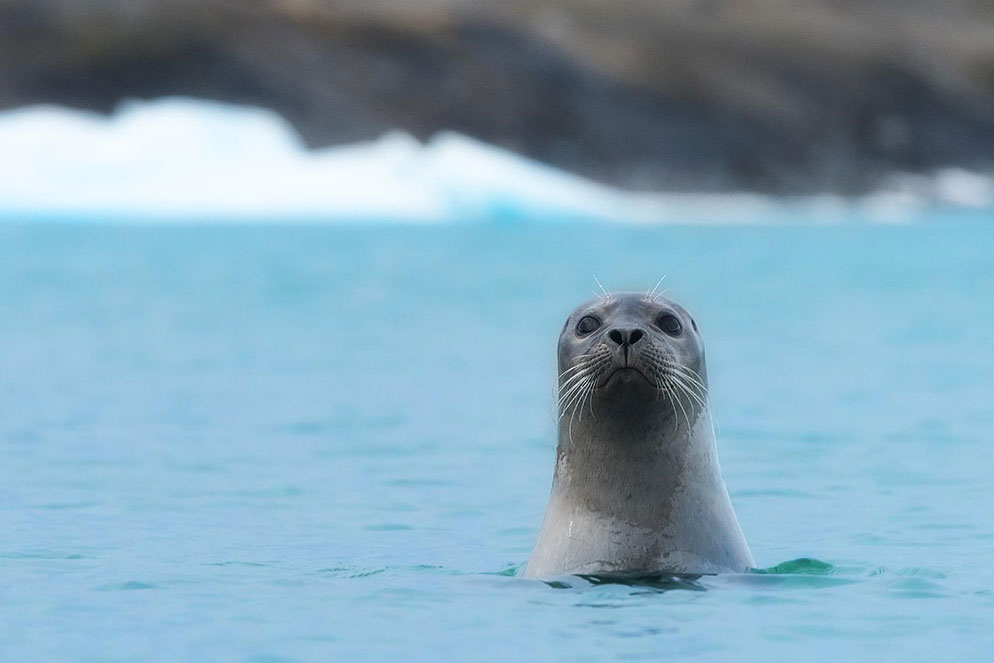
While out kayaking in the Jökulsárlón glacier lagoon in Iceland, a seal decided to tag along. D810 set to DX Crop Mode, AF-S NIKKOR 24-70mm f/2.8E ED VR at 70mm focal length, 1/320 second, f/2.8, ISO 400.
Kayaks & canoes
In certain situations, kayaks and canoes can be great pieces of equipment to utilize in order to get closer to your subject. Kayaks are not only a great way to transport yourself closer to your subject, but they are also extremely quiet, which is quite beneficial in not scaring animals away.
Not all wildlife are photographed equally
There are only about 1.6 million species on Earth...that we’ve identified so far. Not all of these animals require a large distance between you and them.
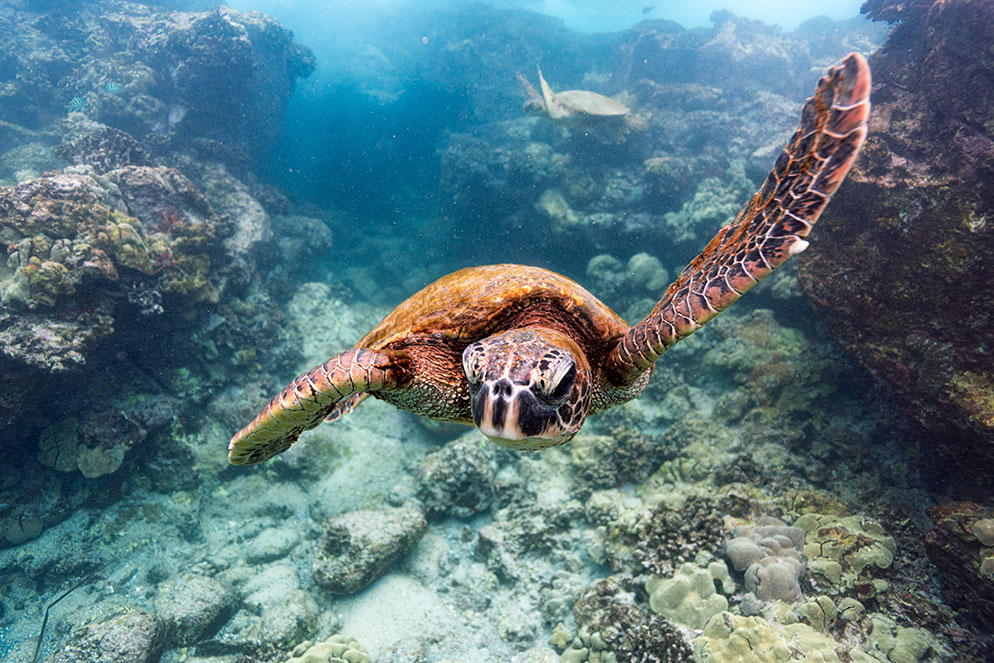
A green sea turtle explores a reef in search of an afternoon meal off the coast of the Island of Hawaii. D810 and AF-S NIKKOR 14-24mm f/2.8G ED at 19mm focal length in an underwater housing, 1/500 second, f/5.0, ISO 400.
Underwater wildlife
Under the surface of our oceans, lakes and rivers, live and breathe a variety of wonderful, beautiful and majestic wildlife. With an underwater housing, you can capture fantastic images with just a wide angle or medium zoom focal length lens. The distortion and refraction of the water can actually make wildlife seem closer as well. Although there are indeed dangerous animals in the water (sharks and alligators come to mind), many others are safe to approach in a respectful manner.
Macro photography
If you squint, you may see it. That tiny jumping spider in the corner of the tree, that’s a wonderful wildlife image...but not one you need a telephoto for. In fact, a macro lens is in order. There are so many incredible critters right beneath our feet that we often never see them. Learning how to spot these small critters will open up your opportunities for utilizing short and macro lenses to create compelling imagery.
Patience
No matter what techniques you implement for your wildlife photographs, the most important technique you can incorporate into your photography is patience. Patience pays off. It may not always pay off at the moment in which you want it to, but it eventually does. Be patient with wildlife. They’re in control, not you. The first word in wildlife is—wild. Animals, whether big or small, dangerous or cuddly, above or underwater, live their own lives and don’t consider your photography important (rude, right?). But being patient and letting wildlife do their thing can present to you opportunities you would never have imagined capturing.
With an open mindset, a little out-of-the-box thinking, creativity, in-camera techniques, and patience can provide you with fantastic moments to capture, even with limited focal length lenses.
Mike Mezeul II is a photographer and photojournalist addicted to storytelling and adventure. He's photographed landscapes, professional sports, natural disasters, concerts, air-to-air aerial photography and more.
More articles by this contributor


