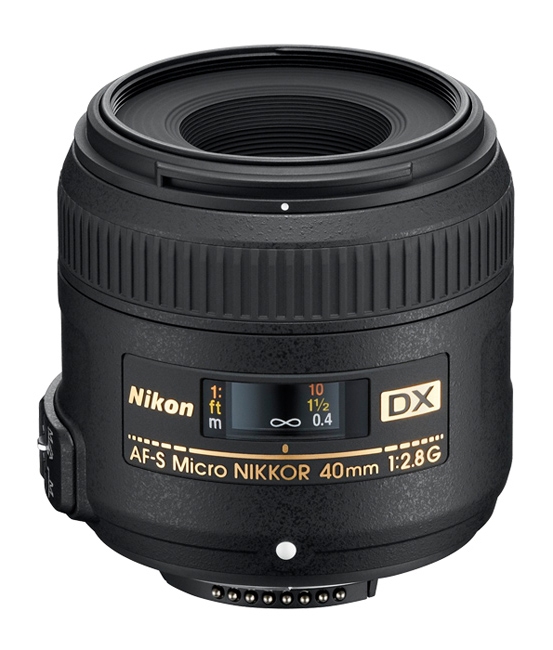
Easy Macro Photography with the AF-S DX Micro-NIKKOR 40mm f/2.8G Lens
When talking about shooting macro photography, there really is no such thing as too close for comfort. In fact, the closer you can get to your subject, the better.
Combine that idiom with the capabilities of the AF-S DX Micro NIKKOR 40mm f/2.8G lens—a DX lens that allows you to focus 6.4” from your subject—and your next photos will not only be up close, but very personal.
This lens allows you to photograph your subjects at a 1:1 ratio of magnification, which means that the subject will appear as big as it is in real life. And with its continuous focusing from infinity to 6.4 inches (life-size/1X), the lens provides clarity in every composition. This is particularly useful with macro photography when focusing on subjects such as water droplets, flowers, insects and food, as just a few examples.
Put another way: The lens that came with your Nikon DSLR camera cannot focus this close and get as much detail as a macro lens will allow.
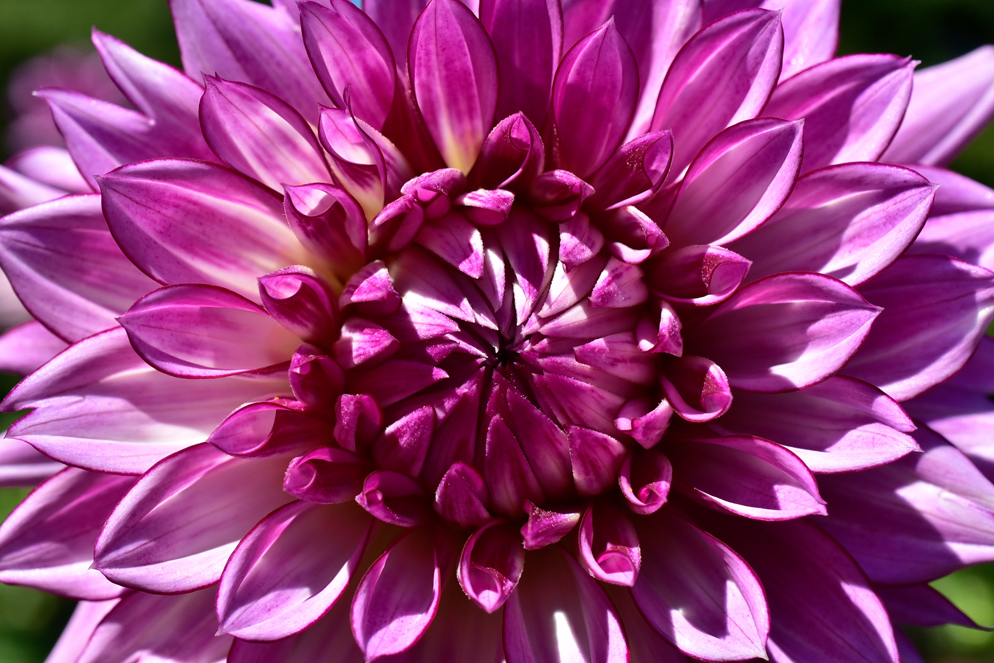
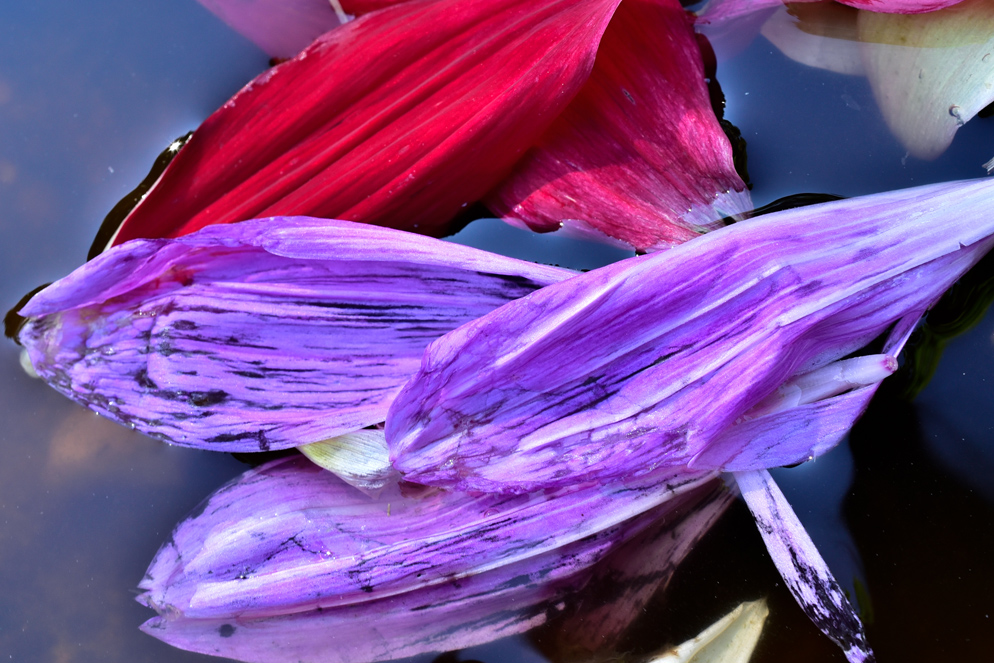
Flowers are an excellent macro photography choice to shoot and the AF-S DX Micro-NIKKOR 40mm f/2.8G lens helps you frame your composition as close and with as much detail as you wish to show.
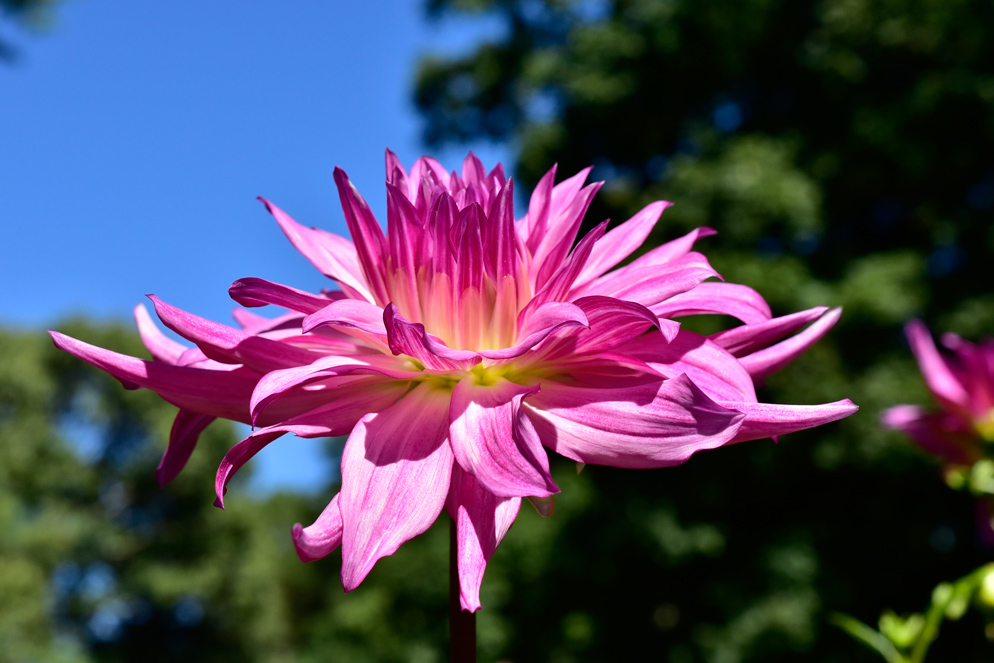
Sometimes you want to include the entire subject, like this flower.
Natural selection
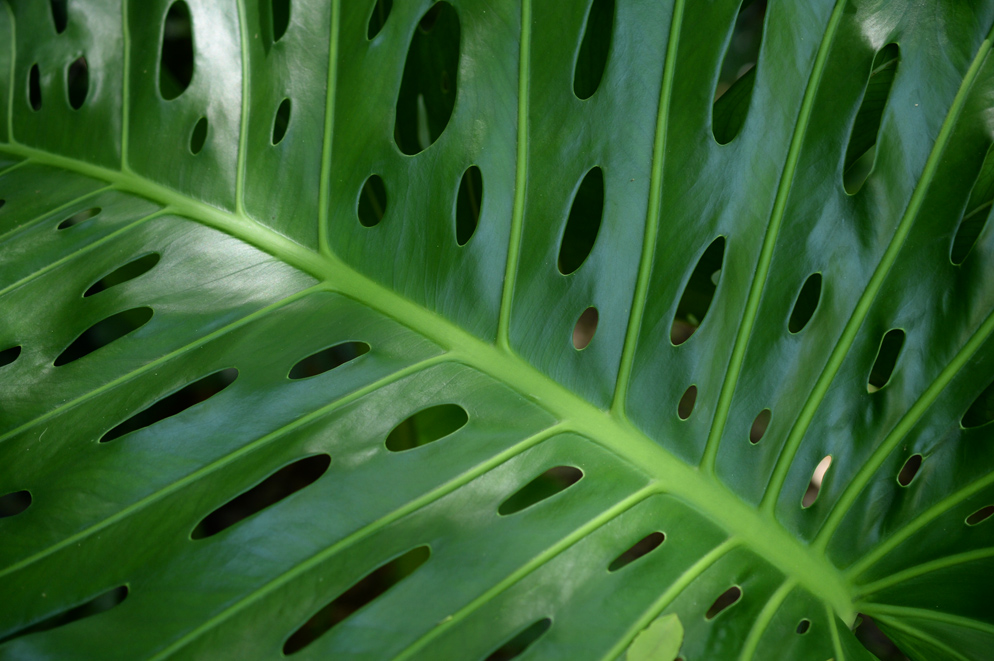
Let’s say you enjoy nature photography and want to capture interesting flora on your next hike. A macro lens will not only allow you to capture the changing colors of leaves next fall, but will clearly define the veins of the leaf as well, or drops of dew on top of that leaf.
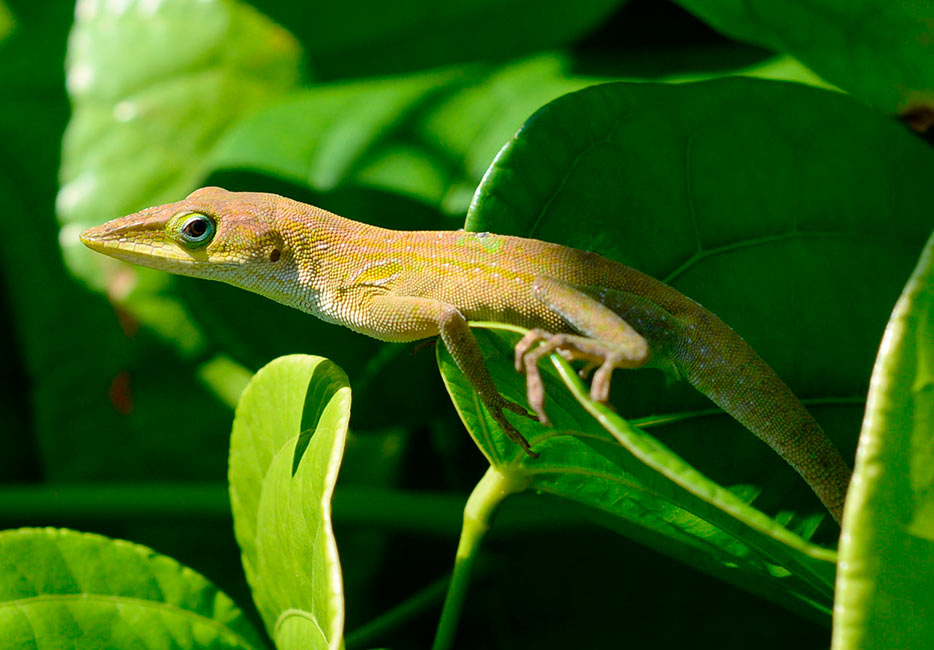
Or, maybe you are more adventurous and would rather get close to fauna. A macro lens can accommodate that too. It will allow you to see close-up details of a tiny insect, the eyes of a spider or even capture the Fibonacci sequence on a snail’s shell.
Of course the 40mm Micro-NIKKOR lens is ideal for any of these outings as it is compact, lightweight and versatile enough for everyday photography.
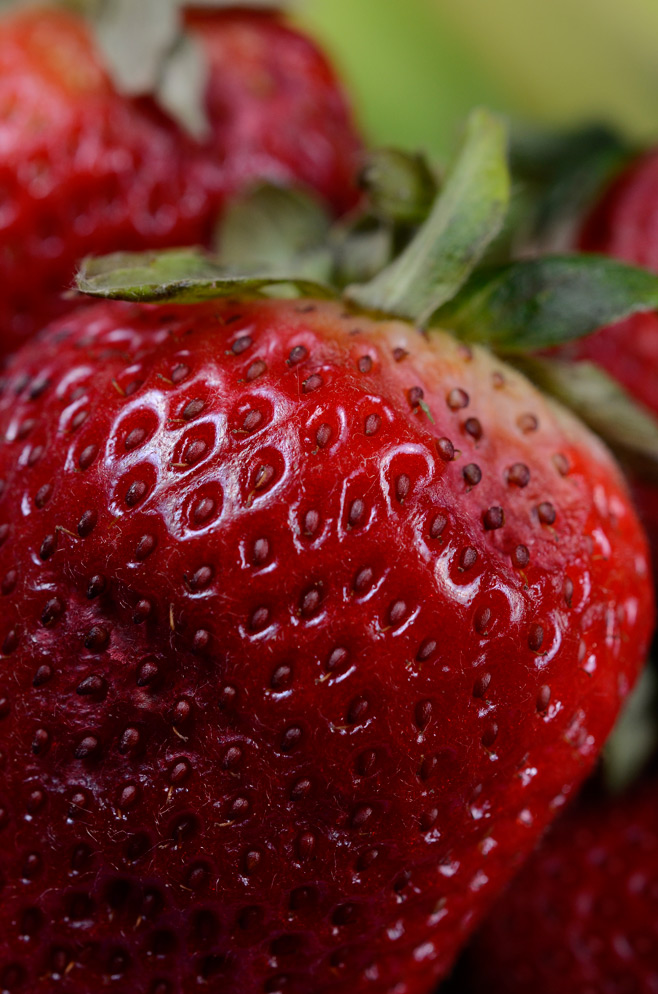
If you are more whimsical in your creative vision, things like marbles, jewelry, the skin of fruit, and tiny figurines are all great subjects of macro photography as well. This also comes in useful when zooming in on tiny fingers and toes when composing baby portraits.
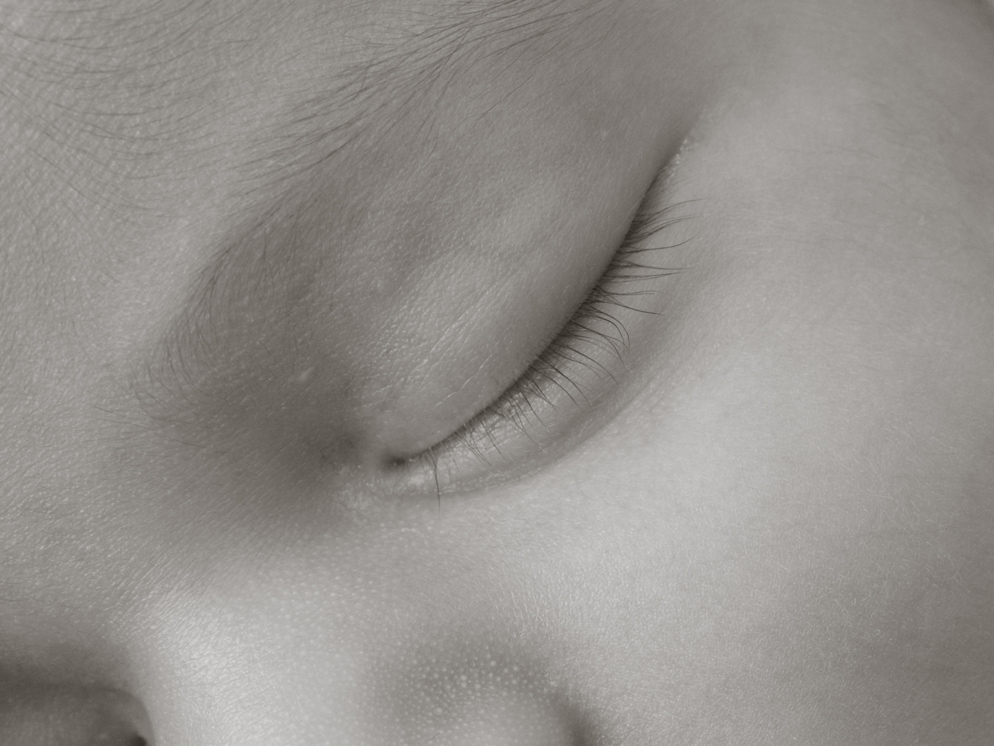
Zoom in on the finer details—as in this case, a baby’s delicate eyelashes—during baby portraits.

A portrait can include in focus details such as the baby’s hand, while the baby’s face is softly out of focus in the background.
Let’s get technical
There are certain concepts that—after you learn them—will ensure the most dynamic macro images possible.
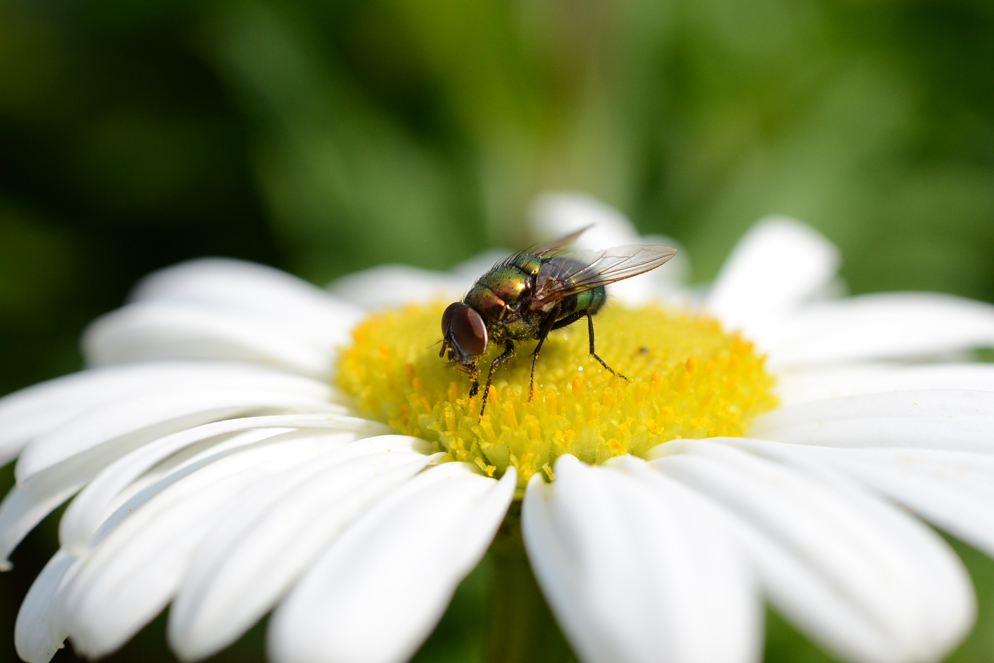
For instance, try selecting a shallow depth of field, especially when photographing insects. An example of shallow depth of field on a subject would be an insect whose eyes are in focus but its body is out of focus. Ideally, set the aperture of the lens to f/2.8 or f/4 to achieve this style. By comparison, the same image with the insect’s body and the background in focus would be considered a large depth of field, at f/11 or f/16.
You can amplify the depth of field effect by adding more distance between you and the subject.

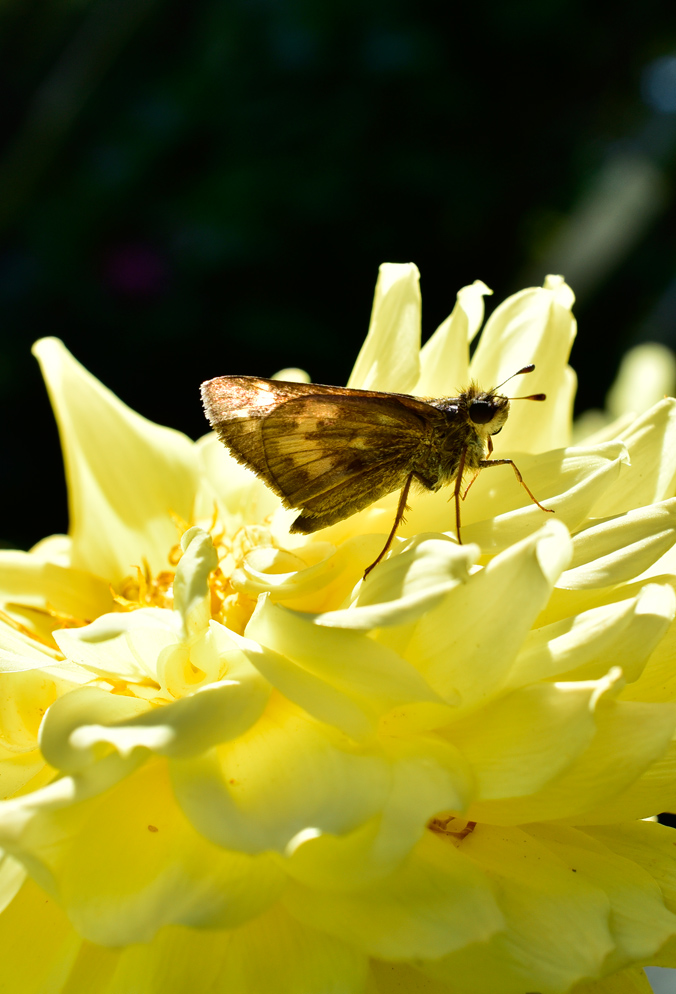
Selecting a shallow depth of field, especially when photographing insects, will allow you to focus on details like this preying mantis’ eyes.
Similarly, there are two terms related to macro photography that are helpful to better understand these concepts.
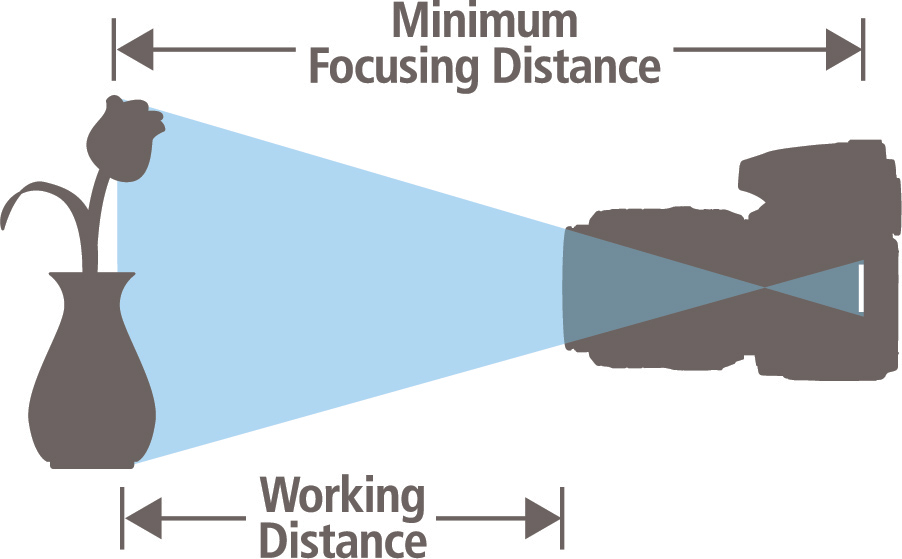
One is minimum focusing distance and the other is working distance. Simply put, the minimum focusing distance is defined as the minimum you need to be from the subject for the lens to be able to focus. The working distance is the distance from the front of the lens to the subject.
Effective lighting will also enhance your macro photography. You can use natural light, continuous light or a flash.
One technique that can be optimized with the 40mm lens is using fill light. When shooting outdoors, under sunlight, add a reflector to even out the look and give a more pleasing appearance to the subject. Incorporate a dark background for a lighter colored subject and visa-versa to make the subject stand out and be more noticeable.
Ultimately though when experimenting with macro photography, the key is to let the shapes, colors and textures of an object take over the scene—and the 40mm lens will allow you to accomplish exactly that with your compositions.
The key to effective macro photography is to let the shapes, colors and textures of an object take over the scene.
10 tips for powerful macro photography:
-
Set the camera to aperture priority and that will let you choose the aperture while the camera chooses the shutter speed.
-
If your camera has a Close-Up Scene Mode—which is represented by a flower icon [on the mode dial]—choose it and the camera will select the correct exposure for a macro image.
-
Use a tripod to steady the camera or place the camera on a steady surface.
-
Contrast your subject and the background with colors and details.
-
Select a shallow depth of field. Ideally, set the aperture of the lens to f/2.8 or f/4.
-
When shooting outdoor macro photography subjects, like butterflies, set up a wind barrier to prevent the subject from moving or flying away while you compose.
-
Set the White Balance. AutoWB will cover a majority of lighting situations and deliver a macro photo with good colorization.
-
If you cannot get outdoors in the early morning to shoot the dew on flowers, spritz a little water from a water bottle on the petals and leaves to create a more interesting picture.
-
When photographing living subjects, like babies; pets or other animals and wildlife, remember to be patient. Those subjects tend to move around and may not always be ready to pose and cooperate.
-
For a bit of fun, and to draw more interest to your images, get in really close to your subject so that only you know what you shot—but then have your friends try to guess what it is that you photographed!


