DSLR for Wildlife Filmmaking: An In-the-Field Review
An in-the-field Review by David Wright, Veteran Nature Photographer and Filmmaker - David Wright films penguins and other animals on location using Nikon DSLRs.
Nature and wildlife filmmakers are a unique breed, much like some of the subjects they capture. Braving extreme temperatures, ever-changing weather conditions and even dangerous environments, these souls wait patiently for what may be only moments of frantic action. This has been my life for more than 20 years—following the migrations and motions of animals as diverse as the King Penguin to North America’s largest venemous snake, the Eastern Diamondback Rattlesnake.
Nikon Brand is a Constant
I started shooting 16mm film stills for television programming, using a clockwork Bolex, then Arriflex, and eventually an Aaton camera. Then came my video work—with camera models too numerous to list. Over the years, because the networks and production companies who hire me select the gear, I have tried just about every type of video camera on the market.
Despite the variety, one constant has been choice of brand; more importantly, choice of lens. NIKKOR glass has captured my still and my moving images—whether attached to a Nikon HD-SLR or another one of Hollywood’s production cameras.
In 2002 I began shooting time lapse series with the Nikon D100. Back then, this body with its 6.1MP sensor offered resolution far great than any contemporary video camera. More than twelve years have passed and the industry has seen much evolution; yet a common question among some of the newer budding filmmakers is “What is the best DSLR for video?”. In my opinion, the turning point for video capture technology came in 2012 with the introduction of the Nikon D800 DSLR camera. Superb quality of stills, combined with 1080p video, has made this my camera of choice on many expeditions, including work for the BBC Natural History Unit and Discovery Channel.
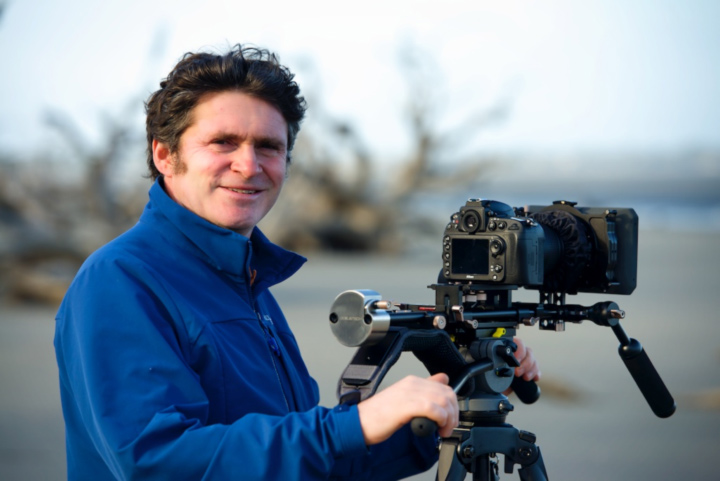
David Wright with a Nikon D800 on a tripod mounted shoulder rig & matte box.
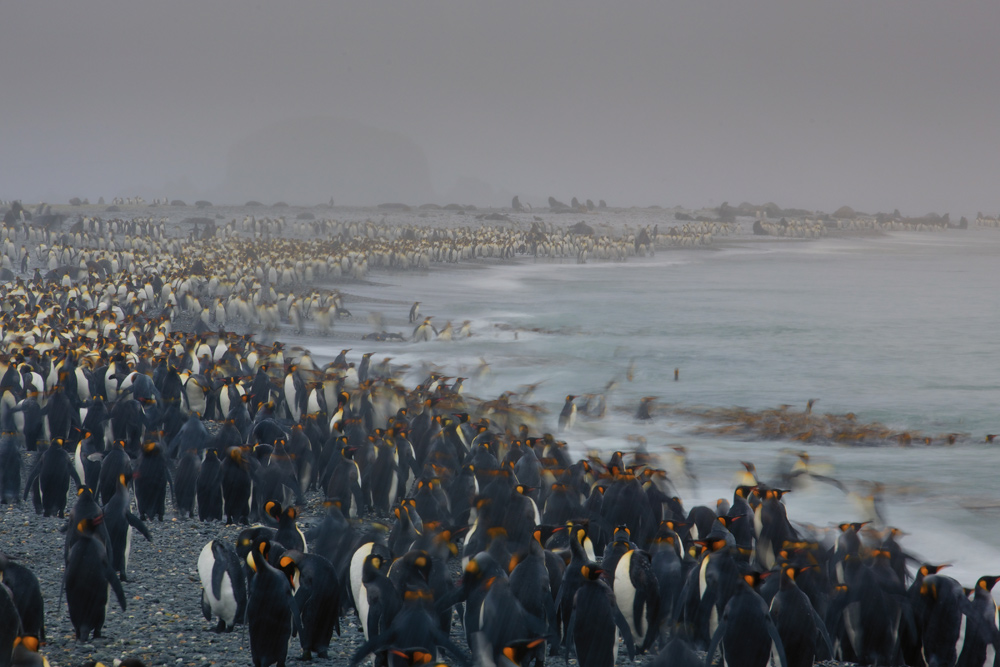
King Penguin Colony, South Georgia—photo taken with the Nikon D800 camera.
A Top Choice, the D800
When it comes to video capture, the D800 has many features that make it an invaluable tool for wildlife filmmaking—in particular wildlife video capture. A favorite feature of mine is the ability to take the camera’s super high resolution stills and stitch them together into image sequences that yield time lapses with cinema quality.
Because the D800 offers photo file resolution much greater than what HD television can show, the camera allows an editor to take what has become known as the “Ken Burns Effect” a step further. (The Ken Burns Effect is a type of panning and zooming technique in video production that uses photo stills.) In my work, instead of using the historical photographs that are often used in this effect, I take my D800 photos and place them into a time lapse series. I then create movement throughout the time lapse sequence—evoking a sensation that the camera either zooms or pans, when in fact it remained stationary. The Ken Burns Effect is one technique to take your production up a level in value.
Use a straight time lapse for a sunrise, a changing tide or a moving glacier. Time lapse magic offers a dynamic way to show the passage of time, changing weather conditions and other events that take hours, days or years to transpire.
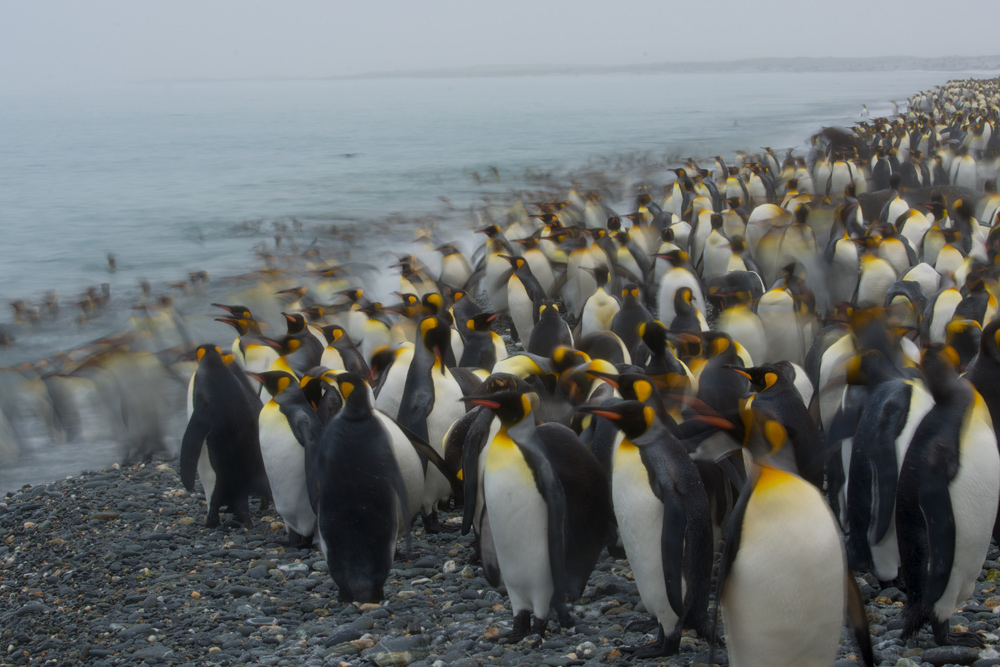
King Penguin Colony, South Georgia—photo taken with the Nikon D610 DSLR camera.

Chinstrap Penguins, Elephant Island, South Shetlands—photo taken with the Nikon D800 DSLR camera.
A second big feature of the Nikon D800 is its video capture flexibility with incredible image quality. The caliber of video shot straight to the card is superb—limited only due to the compression imposed by the H.264 codec. For many instances this limitation is not a problem, and in fact gives a good trade-off between image quality and manageable files sizes. If working in professional broadcast and the network requests an even less compressed video than H.264, here again I can provide excellent footage from the D800.
It’s also nice to know that, when requested by a client, I can hook up an external video recorder to the HDMI output and take in clean 1080p video at a much higher bit rate. The idea of RAW video is appealing, but memory usage is intense.
Making it More Natural: Wildlife Shoot Basics
I spend the majority of my time focusing on nature and wildlife subjects. As with almost every photography and motion subject or genre, capturing wildlife video using an HD-SLR comes with its own set of challenges; the first is changing your mindset.
Know that rather than just recording a single moment in time, video demands that you envision a series of moving images that will unfold into a story. That story may last just moments, or it may extend to days. If you have an interest in aiming the lens on nature, here are a few things I’ve learned along the way:
-
Invest in a steady platform: one with the ability to pan and tilt so you can follow your subject. A good quality fluid head is a must.
-
When filming, capture a variety of shot sizes (wide, medium and close-up) that can be edited together to create a well-paced and compelling story.
-
For lenses, I like the AF-S NIKKOR 28-300mm f/3.5-5.6G ED VR which allows me to shoot a quickly moving subject without the need to break and change lenses.
-
When shooting video you work in Live View mode. This can be challenging, especially in bright conditions. Ninety-nine percent of the time I add a lens shade, loupe or preferably an external monitor/electronic viewfinder (EVF). This gives me a much better way to judge composition, exposure and focus.
-
Sound is just as evocative as an image. Add an external microphone to the HD-SLR, perhaps the Nikon ME-1. The built-in microphones may pick-up handling noises for routine camera operations, such as focus or exposure change and even the sound of your breathing, so accessorizing with an external microphone helps ensure you get better audio.
The Power of Manual Focus
One of the most challenging aspects to shooting wildlife footage is achieving focus. I never use the auto focus function—most professionals don’t. I need to choose and dynamically track a point of focus. I often like to keep the eye of the subject in focus. A loupe on the back of the camera body or monitor/EVF is invaluable.
Another reason for not using auto focus is that the camera will seek the object as you pan. With a moving animal you may move across foreground elements like a tree that can fool even the most intelligent AF system. Think about what happens when you are following a subject as it’s walking through a forest—one moment the focus area is on the subject, then it passes over the trunk of a tree, then back onto the animal. I like to be in full control and place focus where I want it.
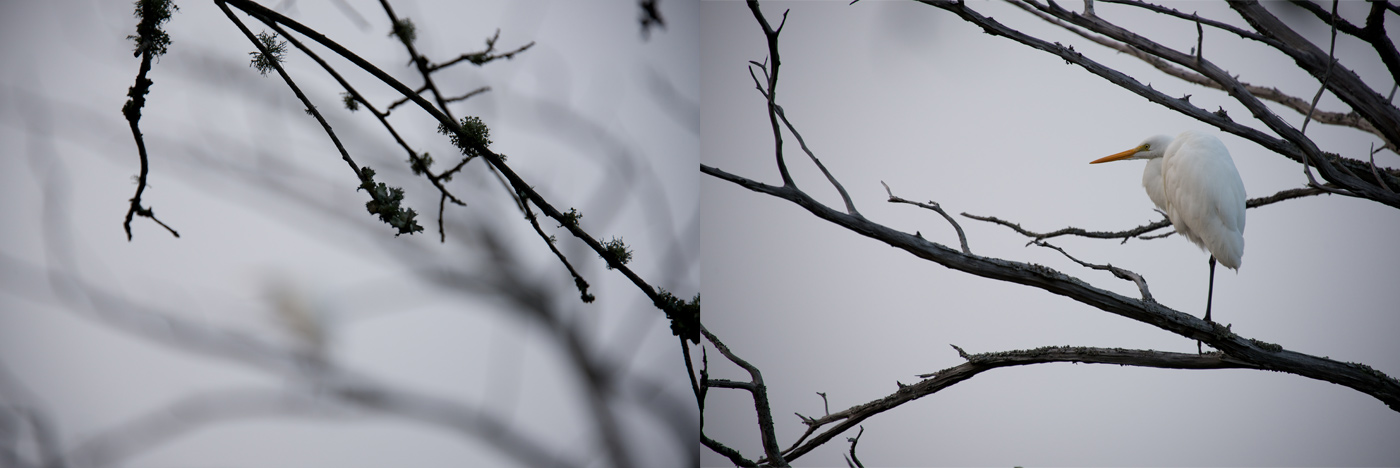
Example of Focus Pull technique, whereby the focus is shifted from one subject to another in a precise and aesthetically pleasing way.
Another reason I prefer manual focus is to execute a technique that pulls focus from one picture element to another—perhaps from an inanimate object such as a tree or rock, to the animal I want to introduce. This technique takes some practice to master and cannot be done unless you have manual control.
About the only time I may momentarily employ auto focus is when I lock onto a subject before I start to shoot. But then I quickly swap to manual as the shot progresses.
Motion Musts: ND Filters and Control Systems
To my lens I attach a variable ND filter set in the middle of its range. During capture I can smoothly vary the amount of light that enters the lens by rotating the filter; I no longer have to stop recording to make exposure changes. Keeping the camera going is essential in wildlife shooting. You don’t want to miss a crucial bit of action.

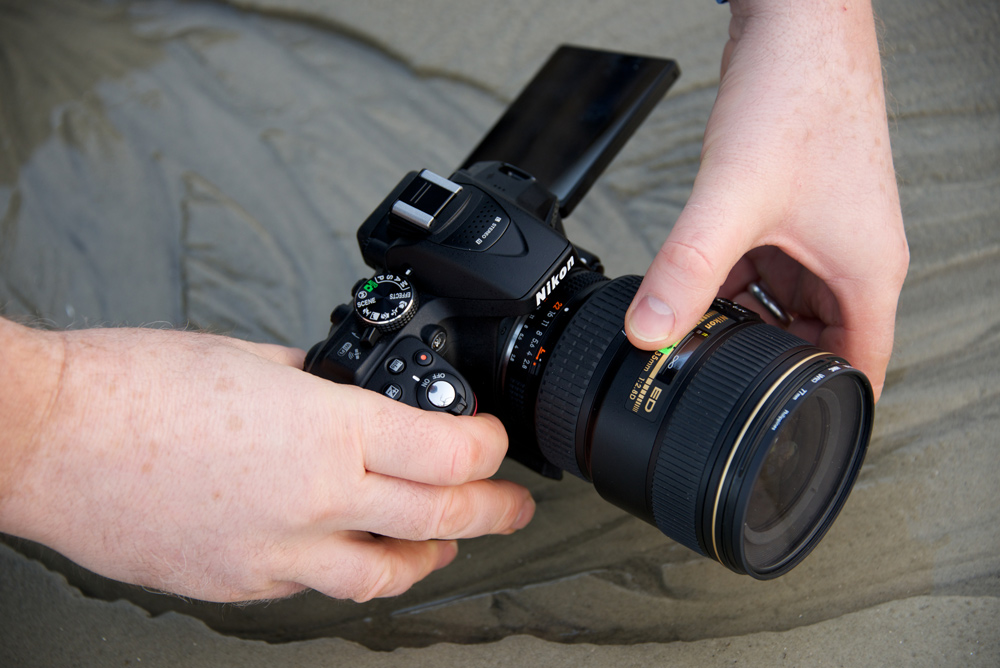
Nikon D610 with AF-S Zoom-NIKKOR 17-35mm f/2.8D IF-ED on a camera slider.
Other pieces of equipment I routinely use include a camera slider or a motion control system that helps me create shots where the camera must pan, tilt and/or move. Here’s where compact HD-SLRs truly come into their own. I personally favor the lightweight D5300 body.
Field Testing the D610 and D5300
For my production I most often rely on the D800. But I enjoy testing and experimenting, so recently I’ve tried two other cameras—the D610 and D5300. Both are quite a bit less costly than the D800.
The D610 is a great counterpart to the D800. Its 24MP sensor is more than capable of capturing high quality stills and video footage. It too can output clean HDMI video—which is great if your set-up calls for an external recorder; most of the time though, the internally recorded video will surpass the expectations of most users. Another good thing about the HDMI output is the ability to connect an external monitor or EVF for better viewing.
Shooting wildlife often requires getting the camera into a place where you can capture an interesting angle and still be able to operate the controls, plus see the LCD screen. For me, this often means getting on eye-level to the animal—not easy when you’re trying to capture an image of a rattlesnake.
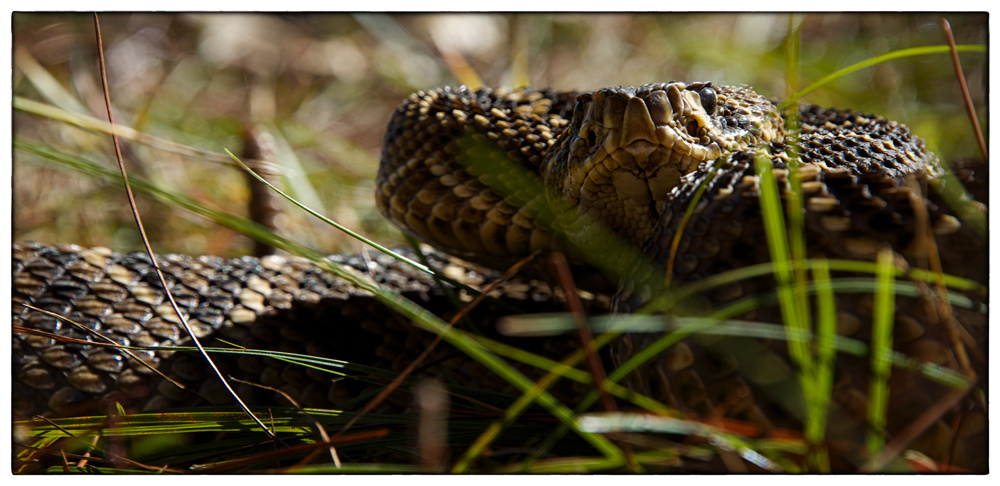
Eastern Diamond Back Rattlesnake—photo taken with the Nikon D5300 camera.
This is where the D5300 comes into its own. The camera body weighs next to nothing and has an articulated screen. This articulation allows you to swivel the LCD to assist in obtaining low shoot angles without moving your eye to that level.
The same would be true when holding the camera to capture from higher up.
The Nikon D5300, with its Vari-angle articulating LCD display enables comfortable shooting from low angles.
Another asset of the D5300 is its ability to shoot 1080 line resolution at 60 frames a second (1080/60p); something that only high-end television cameras were capable of a few years back. This advantage gives the ability to smoothly and crisply render action when shooting fast moving wildlife subjects.
The D5300 also offers built-in GPS, a feature to permit an automatic record of location details to the metadata. And with the camera’s Wi-Fi capability plus a smartphone, you can instantly view your stills, trigger the camera and/or transmit images straight to social media sites.
The D800, D610 and D5300 are all great bodies. Compared to most video cameras, the small form factor of each, paired with the large imaging sensor, translates to easy transport, plus simplified placement in unusual shooting situations—such as underwater (with a housing) or small spaces—for a fantastic point of view.
Sizing up Sensors
The D800 and D610 have full frame sensors. The FX larger frame size offers the ability to maximize beautiful shallow depth of field that truly isolates a subject from its background; most noticeable when using a short telephoto lens. But the full frame also creates epic sweeping landscape images. I love shooting those spacious looks with a second favored lens, the AF-S Zoom-Nikkor 17-35mm f/2.8D IF-ED. Alternatively, the smaller sized DX sensor in the D5300 boasts a crop advantage. If your preferred subjects are often framed with longer lenses, birds for example, using the DX sensor with its 1.5x crop gives you extra reach with no compromise to the 1080p video resolution.
Nikon has a host of DSLR cameras to suit just about every requirement. The D800, D610 and D5300 are fantastic bodies to use for video work. When pairing the best camera to meet your needs, I’d take into consideration the following factors:
-
Budget: a higher priced camera generally offers more manual control. More manual control gives the user a wider range of ways to capture. But for some, this may not be needed—especially if the preference is to shoot in an automated mode.
-
Resolution: which is better for your workflow? 36MP or 24MP still images? Resolution will be important if you plan on creating time lapse sequences or creating the Ken Burns Effect.
-
Screen view: do you need the ability to shoot from unusual angles and have a real time view of what’s being captured? An articulated screen is the answer.
Whatever you select, remember that the camera and gear are merely tools to help you create. Great wildlife filmmaking starts with great vision and a careful eye. If your choice of genre is outdoor and nature work, your rewards are waiting in the great outdoors. The biggest part of getting great wildlife footage is placing yourself in the action in the first place. Anticipate patiently enduring the conditions and all ranges of weather until opportunities present themselves. Why not start experimenting by capturing the wildlife in your area? You never know what you may find.
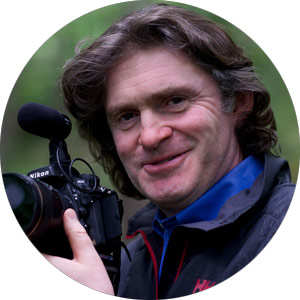
David Wright is an award winning freelance filmmaker and photographer. Originally from the U.K., he has worked in more than 60 countries and now makes his home in the U.S.A. David shoots for clients including National Geographic, the BBC and the Discovery Channel. Throughout his career David has used Nikon photography cameras and NIKKOR lenses, to shoot everything from television productions to commercials and feature films. See more work by David at expeditioncamera.com.
More articles by this contributor


