5 Steps for Getting Great Low-light Photographs this Halloween
Is successful photography a shot in the dark for you at Halloween? Evening photography generally means low-light shooting, so whether you’ll be capturing moments indoors or out, we have some tips for you.
Rock Steady
Sharp low light photography requires that the camera shutter stay open just a bit longer than when capturing in bright light, so keep a steady base of operation. Use a tripod or brace yourself against a wall, building or tree to help reduce camera shake.
If you’re serious about stillness, consider the Nikon ML-L3 Wireless Remote Control to trigger shots. This device is slightly larger than your thumb and will come in handy for all sorts of photography. Also, if your lens has it, switch on the VR (Vibration Reduction).
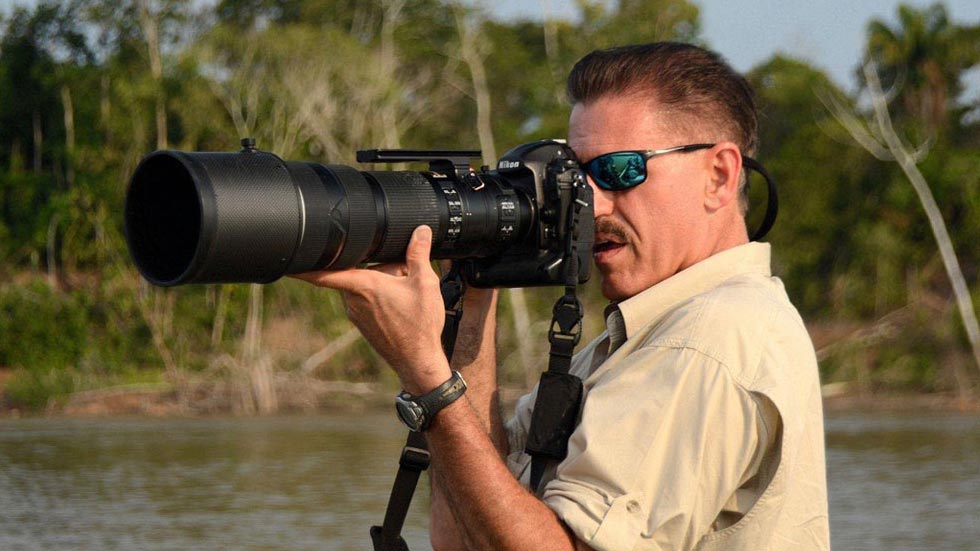
Use a Fast Lens
A fast lens gathers more light, which means you can capture at faster shutter speeds. What does “fast lens” really mean? Lens speed refers to the lens’ largest aperture diameter. A fast lens has a larger maximum aperture that is able to direct more light to the sensor during an exposure. It also lets you work at a lower ISO setting, which further helps ensure images that have less noise. This type of lens will help you take great lower light portrait images on October 31.
Top “fast lens” candidates to consider are those from the NIKKOR f/1.4 and f/1.8 series, such as the AF-S NIKKOR 50mm f/1.8G, AF-S NIKKOR 85mm f/1.8G and AF-S NIKKOR 85mm f/1.4G.
Increase the ISO
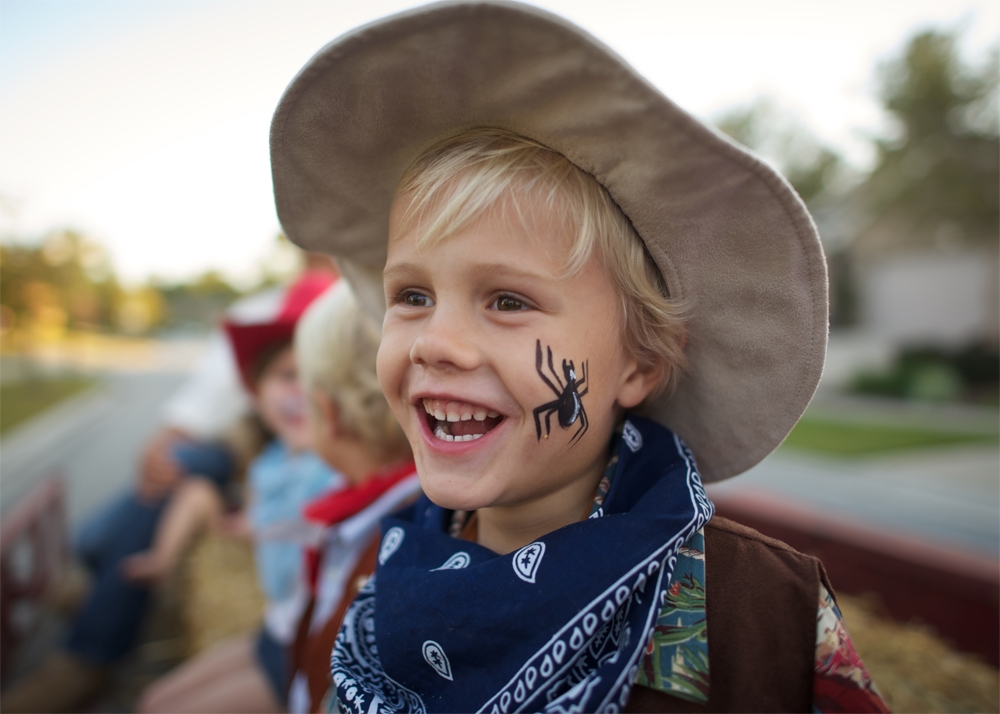
If your low light subjects are moving—maybe you’re trying to capture the kids in costumes as they gather on the front porch—then consider boosting ISO to freeze precious expressions. If shots at ISO 400 look a tad soft, kick ISO to 800. This increase will let the camera capture a bit faster; even if you are not using a fast lens, Nikon DSLRs are able to shoot at higher ISOs and still give great results.
Newer cameras such as the D750 and D7200 have superb low-light autofocus capability, plus incredible extended ISO ranges that reach to 12800 or higher native ISO speeds, so spin that ISO dial and capture the lowlight action.
Shutter Speed and Sharper Images
In low light situations it may be helpful to fire off a few test shots; testing can help you determine optimal settings combinations for your camera and lens. While it’s true that shooting at a lower ISO (for example ISO 400, as opposed to ISO 800) reduces the chance for image noise (by bringing more light to the sensor), that lower ISO may mean that your camera won’t fire fast enough to freeze the action. Kick ISO higher (from 400 to 800) to work with a faster shutter speed.

If your low light subjects are moving then consider boosting ISO to freeze precious expressions.
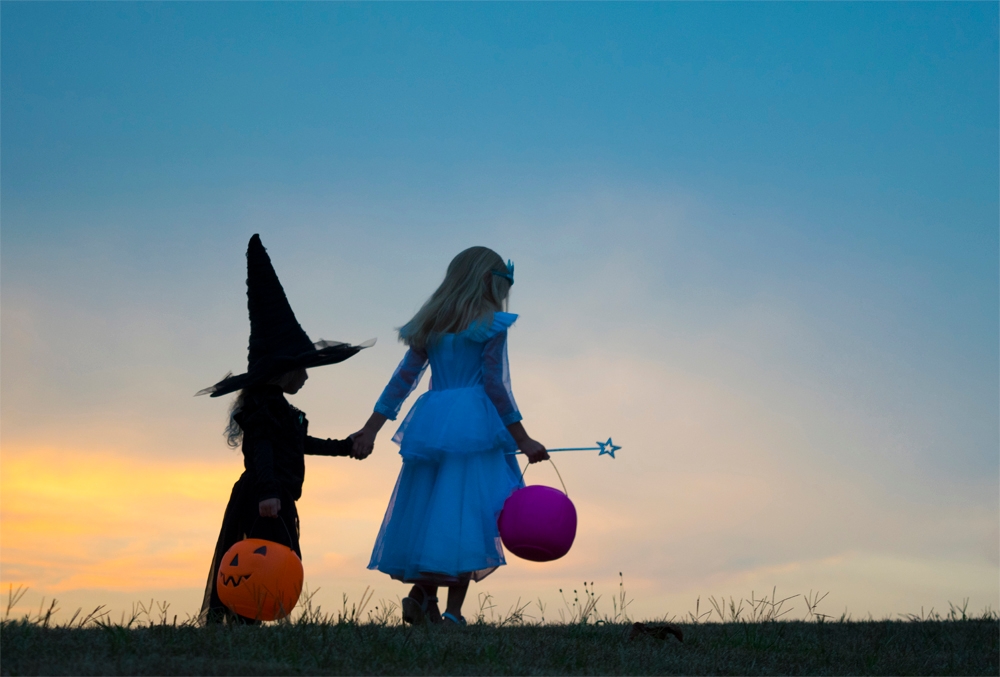
Using a slower shutter speed can gather more light to the sensor, but make sure your subjects are not moving much so the image is sharp.
A slow shutter speed is ideal when photographing stationary subjects, such as lit pumpkins on the porch. If you’ll be capturing anything where motion is probable, perhaps the kids rummaging through their candy bags, a bump up on the ISO dial may provide a better chance for creating sharper shots.
TIP:
A basic rule of thumb for shutter speed while handholding a camera is 1/focal length of the lens for capturing static subjects; adjustments are needed depending on situation, but this is a good rule of thumb to keep in mind.
Use Flash
Don’t stay in the dark when it comes to using the camera’s pop-up flash. You’ve got a super tool to pop faces and brighten smiles. If you are working in Auto or a low light SCENE mode such as Night Portrait, the flash will pop up when you gently hold the shutter depressed halfway; the flash fires when the shutter is fully pressed. If you are shooting in any of the camera’s manual exposure modes (P, S, A, M), you can raise the pop-up flash by pressing the flash button on the front side of the camera.
Direct flash may create harsh light, so experiment. To diffuse and soften the flash, you can use an aid such as tissue paper (hold just in front of the flash). Did you know that you can fine tune the flash? Depending upon what mode you are working in, cameras such as the Nikon D7200 and D750 offer options for Fill Flash Red-eye reduction and more. Check your manual’s “Flash Photography” section for details.
Keep these tricks in mind as you treat yourself, and others, to some great photography this Halloween.